A comfortable home isn’t just about having a powerful furnace or air conditioner.
If your home loses conditioned air through poorly insulated walls, ceilings, floors, and openings, your HVAC system has to work harder to maintain a comfortable temperature. That’s why home insulation upgrades can be some of the smartest improvements you make to a house.
Good insulation helps slow the movement of heat between your living space and the outdoors. In winter, it helps keep heated air inside. In summer, it helps prevent outdoor heat from moving into your home.
The result can be a more consistent indoor temperature, fewer uncomfortable cold or hot spots, and potentially lower heating and cooling demand.
But insulation isn’t simply about adding more material.
The best results come from combining insulation with air sealing, moisture control, proper ventilation, and careful detailing around windows, doors, pipes, ducts, and electrical penetrations.
Here are 15 practical insulation upgrades worth considering, whether you’re improving an older house or planning a major renovation.
1. Upgrade Attic Insulation
The attic is one of the first places to investigate when a home feels difficult to heat or cool.

Because warm air naturally rises, an under-insulated attic can contribute to significant heat loss during colder weather. Adding insulation to the attic floor can help separate the conditioned living space from the unconditioned attic.
Why It Matters
A properly insulated attic can help:
- Reduce heat transfer
- Improve upstairs comfort
- Reduce temperature swings
- Lower heating and cooling demand
- Make HVAC performance more consistent
Before adding insulation, inspect the existing material for moisture damage, mold, compressed areas, or other problems.

It’s also important to address air leakage at the attic floor before simply adding more insulation.
2. Air-Seal the Attic Before Adding Insulation
Insulation works best when uncontrolled air movement is addressed first.

Small gaps around wiring, plumbing penetrations, recessed fixtures, ductwork, and ceiling openings can allow conditioned air to escape into the attic. Air sealing these areas can improve the performance of existing and new insulation.
This is an important distinction: insulation slows heat transfer, while air sealing reduces uncontrolled airflow.
Areas Worth Checking
Pay particular attention to:
- Plumbing penetrations
- Electrical penetrations
- Attic hatches
- Top plates
- Duct penetrations
- Chimney or flue areas
- Recessed lighting openings
Use materials appropriate for the specific application and follow local building and fire-safety requirements.
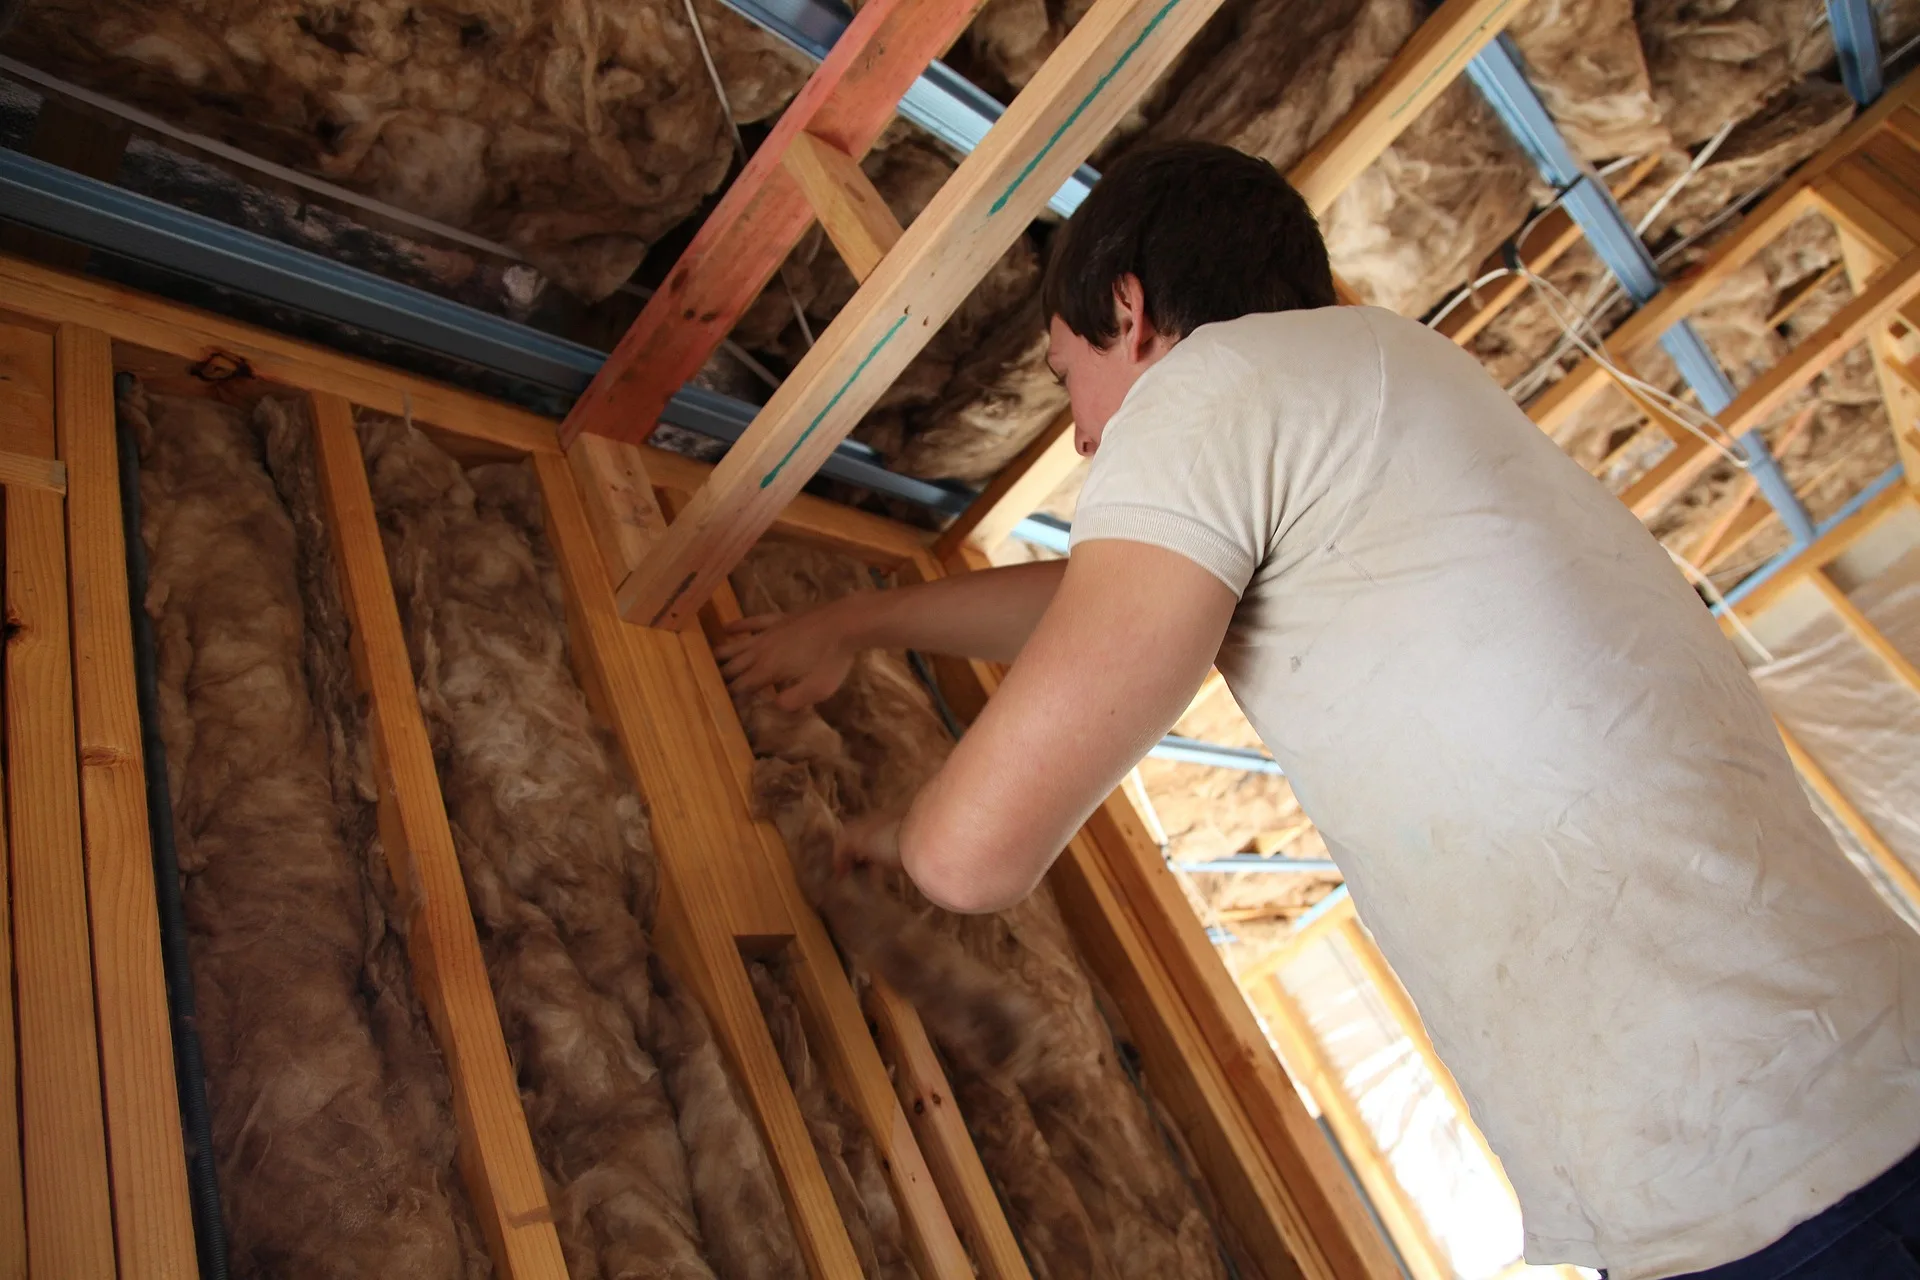
3. Insulate Exterior Walls
Wall insulation can make a noticeable difference in older homes, particularly where insulation is missing, damaged, or insufficient.

Walls are large surfaces separating your conditioned interior from outdoor temperatures. Improving their thermal resistance can help reduce heat movement through the building envelope.

Existing Homes Require Careful Planning
The best approach depends on the construction of the house.
Possible strategies include:
- Blown-in insulation
- Dense-pack insulation
- Spray foam
- Exterior continuous insulation
- Interior insulation during renovation
Before choosing a method, determine what’s already inside the wall cavity and consider moisture management. Adding insulation without understanding the wall assembly can sometimes create moisture problems.
4. Add Continuous Exterior Insulation During a Major Renovation
If you’re replacing siding or undertaking a major exterior renovation, consider adding continuous insulation outside the structural wall.

Unlike cavity insulation, continuous insulation can reduce thermal bridging through framing members. That can improve the overall thermal performance of the wall assembly.
Why This Is Different
Traditional framed walls contain wood studs that conduct heat more readily than insulation. Continuous insulation creates an additional thermal layer across much of the exterior.
However, the complete wall assembly must be designed correctly for water management, vapor control, flashing, cladding attachment, and ventilation.
This is an upgrade where professional design can be especially valuable.
5. Insulate the Basement Ceiling or Walls
Basements can have a major effect on the comfort of rooms above them. Cold basement surfaces can contribute to chilly floors and temperature differences between rooms.

The right insulation strategy depends on whether the basement is conditioned, unfinished, damp, or partially below grade.
For conditioned basements, insulating foundation walls is often an important part of the thermal envelope. For certain unconditioned basement configurations, insulating the floor above may be appropriate.

Don’t Ignore Moisture
Basement insulation should never be treated as a purely thermal project.
Address leaks, drainage, condensation, and moisture problems first. Otherwise, insulation can conceal problems rather than solve them.
6. Improve Crawl Space Insulation
A poorly insulated crawl space can make floors above feel cold and uncomfortable. It can also allow moisture and outdoor air to affect the house.

Depending on the building design and local requirements, a crawl space may be treated as vented or unvented.
In many situations, insulating the crawl-space walls and controlling air and moisture can help create a more stable environment.

Important Consideration
Don’t simply stuff insulation between floor joists without understanding the crawl-space conditions. Moisture, ventilation, plumbing, and air leakage all need to be considered together.
7. Insulate Floors Above Unconditioned Spaces
Rooms above garages, crawl spaces, or other unconditioned areas can develop noticeably colder floors.

Insulating the floor assembly can reduce heat transfer between the conditioned room and the space below. This is particularly useful in bedrooms, offices, and living spaces where occupants spend extended periods.

Garage Ceilings Deserve Attention
A room directly above an unconditioned garage can be especially vulnerable because garages may experience large temperature swings.
Air sealing and insulation should be combined carefully around penetrations to maintain the separation between the home and garage.
8. Upgrade Garage-Ceiling Insulation
The garage is often overlooked when homeowners think about insulation.
But if bedrooms or living areas are directly above it, the garage ceiling forms part of the home’s thermal boundary. Improving insulation there can help reduce temperature transfer into the rooms above.

Pay Attention to Air Sealing
The separation between a garage and living space also has important safety implications.
Penetrations, doors, ducts, and other openings should be treated appropriately to maintain the required fire and air separation. This is an area where local building codes matter.
9. Replace or Improve the Attic Hatch
An attic hatch may seem insignificant, but a poorly sealed access panel can undermine otherwise good attic insulation.

If the hatch is thin, uninsulated, or surrounded by gaps, conditioned air can escape around it. Upgrade the hatch with appropriate insulation and weatherstripping.

A Simple Checklist
Make sure the access panel:
- Fits tightly
- Has adequate insulation
- Has effective weatherstripping
- Can still be safely opened
- Doesn’t interfere with attic ventilation
This is one of the smaller upgrades that can make a surprisingly useful improvement.
10. Insulate Hot-Water Pipes
Not every insulation upgrade needs to involve the walls or roof.

Insulating accessible hot-water pipes can reduce heat loss between the water heater and fixtures. This may help hot water reach taps faster and reduce wasted energy in certain systems.

It can be particularly useful for accessible pipes in basements, utility rooms, and other unconditioned areas.
Be Selective
Use insulation products designed for the pipe and application. Follow manufacturer guidance and maintain required clearances around heat-producing equipment.
11. Insulate Ductwork in Unconditioned Areas
If your HVAC ducts run through an attic, crawl space, garage, or another unconditioned area, they can lose or gain heat before conditioned air reaches the rooms.

Proper duct insulation helps reduce that unwanted heat transfer.
But there’s another important issue: duct leakage. A duct system with excellent insulation can still waste energy if conditioned air escapes through poorly sealed joints.

For this reason, duct sealing and insulation should ideally be considered together.
12. Upgrade Weatherstripping Around Exterior Doors
Doors are another common source of unwanted air leakage.

If you can feel cold air around an exterior door during winter, the problem may be poor weatherstripping rather than inadequate wall insulation. Replacing worn seals can be a relatively simple improvement.

Check These Areas
Inspect:
- Door jambs
- Head seals
- Threshold
- Bottom sweep
- Frame-to-wall gaps
A properly adjusted door should close securely without requiring excessive force.
13. Improve Window Insulation and Air Sealing
Windows can become uncomfortable cold or hot spots when they are old, poorly sealed, or inefficient.

Replacing every window isn’t always necessary. Start by checking for air leakage around the frame and sash.
Weatherstripping, caulking, interior or exterior sealing, and appropriate window treatments may improve comfort depending on the condition of the existing windows.
When Replacement Makes Sense
If the windows are damaged, severely drafty, single-glazed, or nearing the end of their service life, replacement may provide a more substantial improvement.
Choose windows based on your climate and the performance characteristics appropriate for your home.
14. Insulate Around Recessed Lights and Ceiling Penetrations
Ceilings contain more openings than many homeowners realize.
Recessed lights, electrical boxes, plumbing penetrations, fans, speakers, and other fixtures can create pathways for air movement. Older recessed lighting can be particularly challenging because some fixtures require specific clearances from insulation.

Safety First
Never cover a light fixture with insulation unless it is specifically rated and installed for that application.

If you’re unsure, have an electrician or qualified professional inspect the fixture before changing the insulation around it.
15. Consider a Whole-Home Insulation and Air-Sealing Assessment
Before spending thousands on insulation, it can be smart to understand where your home is actually losing energy.

A professional energy assessment can identify areas of heat loss and air leakage that aren’t obvious during a normal walkthrough.
Depending on the assessment, professionals may use tools such as:
- Infrared cameras
- Blower-door testing
- Moisture meters
- Duct testing
- Visual inspection
This information can help you prioritize improvements instead of guessing.
Why This Can Save Money
You may discover that your attic is already adequately insulated while your biggest problem is air leakage around windows, ducts, or the basement.
That knowledge lets you spend your renovation budget where it can have the greatest impact.
Insulation vs. Air Sealing: Why You Need Both
One of the biggest misconceptions about home insulation is that insulation alone solves drafts. It doesn’t.
Insulation primarily slows heat transfer, while air sealing addresses unwanted movement of air through cracks and openings.
Imagine having a thick winter coat with several large holes in it. The coat still has insulation, but cold air can move through the openings. Your home’s building envelope works in a similar way.
That’s why the most effective upgrades often combine insulation, air sealing, and moisture management.
Which Home Insulation Upgrade Should You Do First?
There isn’t one universal answer because every house is different. However, a practical starting point is to investigate the areas where heat loss and discomfort are most likely.
Start with the Attic
Attic insulation and air sealing are often relatively accessible compared with opening walls.
Check Obvious Drafts
Look around doors, windows, attic hatches, and penetrations.
Investigate Uncomfortable Rooms
If one bedroom is always colder than the rest of the house, look for localized problems rather than insulating the entire home blindly.
Examine Basements and Crawl Spaces
Cold floors and damp lower levels can indicate problems that need attention.
Assess Ductwork
Check your ducts, especially if they run through unconditioned areas.
How Much Insulation Does a Home Need?
The answer depends on several factors. Your climate, building design, insulation material, construction type, local energy codes, and the location of the insulation all influence the appropriate level.
Insulation is commonly described using R-value, which measures resistance to heat flow.
A higher R-value generally means greater resistance to heat transfer, but simply choosing the highest number isn’t enough. The entire building assembly matters.
Air leakage, thermal bridging, moisture, ventilation, installation quality, and continuity can all affect real-world performance.
For a renovation, use local building requirements and climate-appropriate recommendations rather than copying an insulation specification from another region.
Common Insulation Mistakes to Avoid
Adding Insulation Without Fixing Air Leaks
Air can bypass insulation through gaps and penetrations. Address major leakage pathways first.
Compressing Insulation
Many insulation products perform differently when compressed. Install them according to manufacturer requirements.
Ignoring Moisture
Water problems should be corrected before insulating affected areas.
Blocking Attic Ventilation
Insulation should not obstruct ventilation pathways where the roof assembly requires them.
Using the Wrong Material
Different locations require different insulation and air-sealing approaches.
Forgetting Thermal Bridges
Studs, joists, corners, and other structural elements can conduct heat around cavity insulation.
DIY Work Around Hazardous Materials
Older homes can contain asbestos, lead-based materials, or other hazards. If there’s any uncertainty, have the area evaluated before disturbing existing materials.
How Insulation Can Improve Everyday Comfort
Energy savings are only part of the story.
A well-insulated home can feel more comfortable because indoor temperatures tend to be more stable.
You may notice fewer:
- Cold floors
- Drafts
- Hot upstairs rooms
- Cold exterior walls
- Temperature differences between rooms
- HVAC cycling problems
Good insulation can also reduce the amount of outdoor noise entering through certain building assemblies. That means the upgrade can improve both thermal comfort and the overall feel of the home.
Don’t Forget Moisture and Ventilation
A more energy-efficient home should still have appropriate ventilation.
The goal isn’t to seal the building so tightly that indoor air quality suffers. Instead, uncontrolled air leakage should be reduced while intentional ventilation is provided where required.
Bathrooms, kitchens, laundry areas, attics, crawl spaces, and basements all have different moisture considerations.
A successful insulation project therefore considers heat, air, and moisture as one connected system.
Final Thoughts
The best home insulation upgrades aren’t necessarily the most expensive ones.
Sometimes the biggest improvement comes from sealing a drafty attic hatch, insulating a garage ceiling, improving weatherstripping, or fixing an overlooked air leak. Other homes may benefit from a much larger investment in attic, wall, basement, or exterior insulation.
The important thing is to understand where your house is actually losing comfort before choosing the solution.
Think of your home as one connected envelope. Insulation slows heat transfer, air sealing controls unwanted airflow, moisture management protects the assembly, and ventilation provides controlled fresh air.
When those pieces work together, the result isn’t simply a more energy-efficient house. It’s a home that feels warmer when it’s cold, cooler when it’s hot, quieter, and noticeably more comfortable throughout the year.