Imagine this: It’s the dead of winter, and you wake up to the sound of rushing water. A pipe has burst in your basement, flooding everything and racking up an $8,000 repair bill—not to mention the skyrocketing heating costs from drafts you didn’t even know existed. Sound like a nightmare? It doesn’t have to be. With these essential winterization tips for your home, you can protect your space from cold weather damage, slash your energy bills, and keep things cozy all season long. Whether you’re a homeowner tackling big projects or a renter looking for simple fixes, this guide has you covered. Let’s dive in and get your place prepped before the first freeze hits—trust me, your wallet (and sanity) will thank you.
By the end, I’ll tease a free printable prepare home for winter checklist to make it even easier. Ready? Let’s do this together.
The Ultimate Winterization Checklist Overview
Before we break it down room by room, here’s a high-level look at why winter prep is a game-changer. Winterization isn’t just about avoiding disasters like frozen pipes or ice dams; it’s about creating an efficient, comfortable home that saves you money. According to energy experts, proper sealing and insulation can cut heating bills by up to 20%—that’s hundreds of dollars back in your pocket each year.
This checklist covers everything from exterior defenses to indoor tweaks. For homeowners, you’ll have full reign to make structural changes; renters, focus on non-permanent solutions like weatherstripping or asking your landlord for approvals on bigger items. In mild climates like the Pacific Northwest, prioritize drafts and basic pipe protection. But in harsh areas like the Midwest or Northeast, go all-in on insulation and roof prep to combat heavy snow and sub-zero temps.
Key benefits: Prevent costly repairs (think $5,000 for water damage vs. $20 in supplies), boost energy efficiency with eco-friendly options like recycled cellulose insulation, and enhance safety with tips on carbon monoxide prevention. We’ll include step-by-step instructions, cost estimates, and when to call pros. Let’s start outside and work our way in.
Start Outside: Roof, Gutters, and Foundation
Your home’s exterior is the first line of defense against winter’s wrath, so let’s tackle it head-on. Begin with your roof—inspect for loose shingles or damaged flashing that could lead to leaks or ice dams (those sneaky ridges of ice that trap water and cause interior damage). If you’re in a snowy region, consider installing ice and water shield underlayment for about $200-$500 in materials; DIY if you’re handy, but call a roofer for steep pitches to avoid falls.
Next, gutters: Clogged ones overflow, creating ice buildup that pulls them down or floods your foundation. Grab a ladder (safely!), gloves, and a trowel. Scoop out leaves and debris, then flush with a hose. For eco-friendly flair, compost the gunk. Cost? Free if DIY, or $150 for pro cleaning. In mild areas, once a year suffices; harsh climates, do it twice.
Don’t forget siding and foundation. Check for cracks and seal with exterior caulk ($10 tube). Wrap foundation vents with insulated covers to prevent cold air infiltration. Renters: Stick to visual checks and report issues to your landlord. This exterior prep can save you from $2,000 in foundation repairs—worth every minute!

Prevent the #1 Winter Disaster: Frozen Pipes
Frozen pipes are the ultimate winter villain, bursting and causing floods that average $5,000 in fixes. But with smart protect pipes from freezing strategies, you can sidestep this entirely. Start by identifying vulnerable spots: exterior walls, unheated garages, or crawl spaces.
Step-by-step: Insulate pipes with foam sleeves ($8 for 6 feet at hardware stores)—cut to fit and tape seams. For extra protection in brutal climates, add heat tape (electric versions cost $30-$50; plug in during freezes). On cold nights (below 20°F), let faucets drip slowly to keep water moving, and open cabinet doors under sinks to let warm air circulate. This simple trick costs nothing but prevents disasters.
Homeowners: Consider rerouting pipes away from cold zones if issues persist—call a plumber for $200-$500. Renters: Use removable insulation and the drip method; get landlord okay for anything permanent. Eco-tip: Opt for recycled foam insulation. Regional note: In milder South, focus on exposed pipes; up North, insulate everything. Always install a water leak detector ($20) for peace of mind. Safety first: Never use open flames to thaw pipes—risk of fire!

Seal Every Draft (You’ll Feel the Difference Immediately)
Drafts are silent energy thieves, letting cold in and heat out, potentially adding 10-20% to your bills. Let’s seal them up for instant coziness. Walk your home with a lit incense stick—watch for smoke movement to spot leaks around windows, doors, outlets, and baseboards.
For windows and doors: Apply weatherstripping ($10 roll) along edges—peel and stick for easy DIY. Caulk gaps with silicone ($5 tube); it’s flexible and weatherproof. Add door sweeps to bottoms for $15. Outlets? Insert foam gaskets behind plates (pack of 10 for $5). Don’t overlook attics—seal hatch with weatherstripping.
Homeowners can upgrade to energy-efficient windows (tax credits available), but renters stick to temporary fixes like plastic film kits ($10) over windows. In windy regions, prioritize doors; calm areas, focus on windows. Eco-alternative: Use natural cork strips for sealing. This can save on heating bills winter by $100+ monthly. Pro tip: If drafts persist in walls, call an energy auditor ($300) for infrared scans.

Heating System Prep That Saves Hundreds
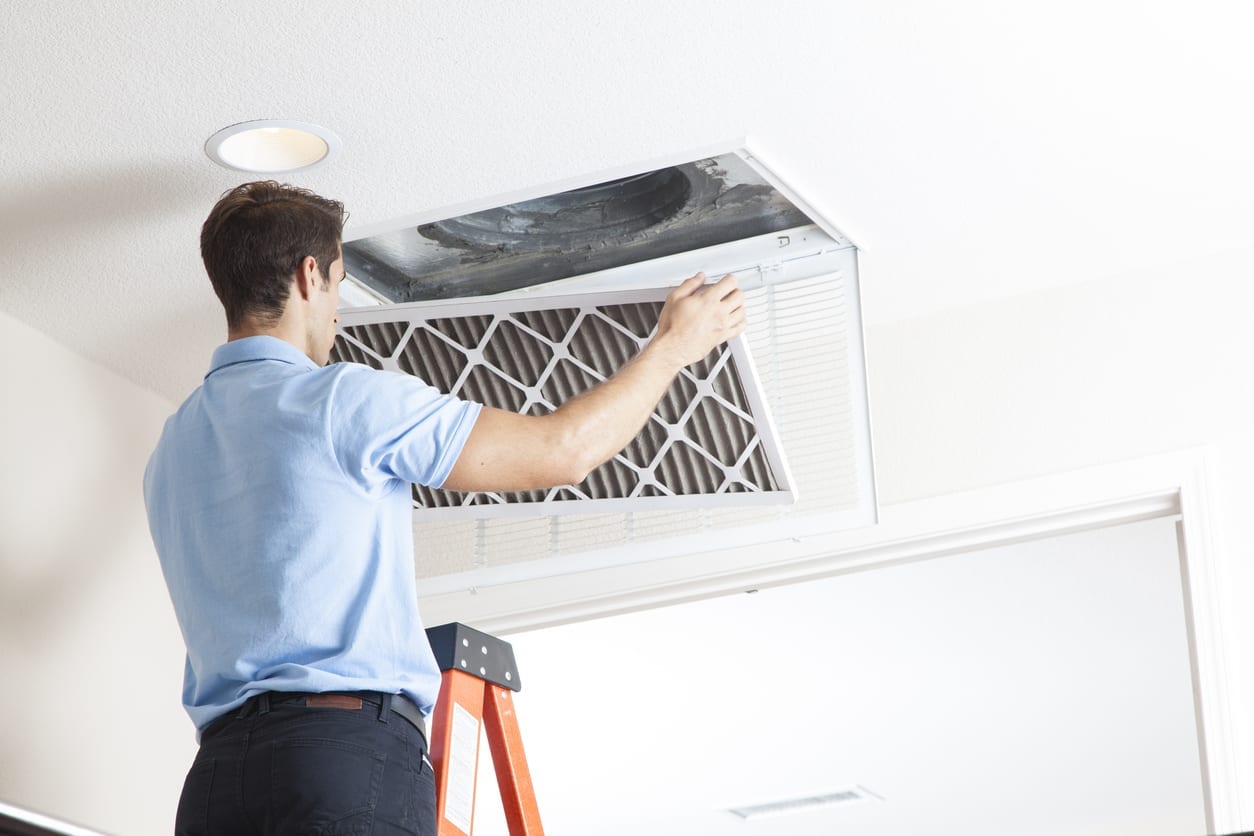
Your furnace or heat pump is the heart of winter comfort—neglect it, and you’ll pay dearly in efficiency and repairs. Start with a tune-up: Change the filter monthly ($5-10 each) to keep air flowing cleanly; dirty ones strain the system, hiking bills by 15%.
Step-by-step filter hack: Mark your calendar, slide out the old one, insert new—takes 2 minutes. Bleed radiators if you have them: Open valves to release air, improving heat distribution. Clean vents and registers with a vacuum.
Homeowners: Schedule annual pro servicing ($100-$200) to check belts, lubricate parts, and test for carbon monoxide leaks—essential safety step, as CO poisoning kills hundreds yearly. Install a programmable thermostat ($50) for auto adjustments. Renters: Change filters yourself and request landlord inspections. In cold climates, add humidifiers to prevent dry air issues; milder spots, basic maintenance suffices. Eco-boost: Use HEPA filters for better air quality. This prep can save on heating bills winter by $200-300 seasonally.
Attic & Insulation Upgrades That Pay for Themselves
Heat rises, so an under-insulated attic is like leaving a window open—up to 25% of warmth escapes. Boosting insulation is a top winter home maintenance tip that pays back fast.
Measure current levels (aim for R-30 in mild areas, R-60 in harsh ones). Add blown-in cellulose ($1 per sq ft, eco-friendly from recycled paper) or fiberglass batts. Step-by-step: Wear gloves and mask, lay new over old without compressing. Seal air leaks first with spray foam ($10 can).
Homeowners: DIY for $500-$1,000 in materials; pros for $1,500+ if venting needed. Renters: Limited here—focus on draft sealing downstairs. Regional: Southern homes need less; Northern, more layers. Cost savings? Up to $400 yearly on bills, plus rebates for green upgrades. Safety: Avoid covering recessed lights to prevent fires.

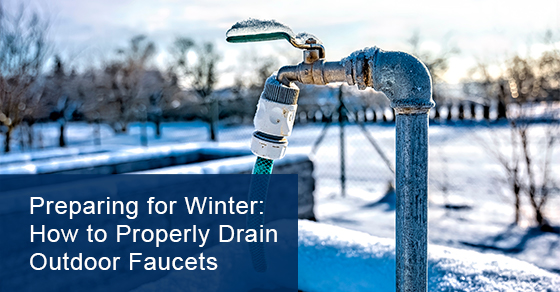
Protect Outdoor Faucets, Hoses, and Sprinkler Systems
Outdoor water systems are prime targets for freezing. Start by disconnecting hoses—store coiled indoors. Drain faucets: Shut off interior valves, open exterior spigots to empty lines.
For sprinklers: Blow out lines with compressed air (rent a compressor for $50/day) or call pros ($100). Cover faucets with insulated domes ($5 each).
Homeowners handle it all; renters check with landlords for systems. In freeze-prone areas, do this by October; milder, November. Eco-tip: Reuse hose water for plants before draining. Prevents $1,000 in pipe replacements.
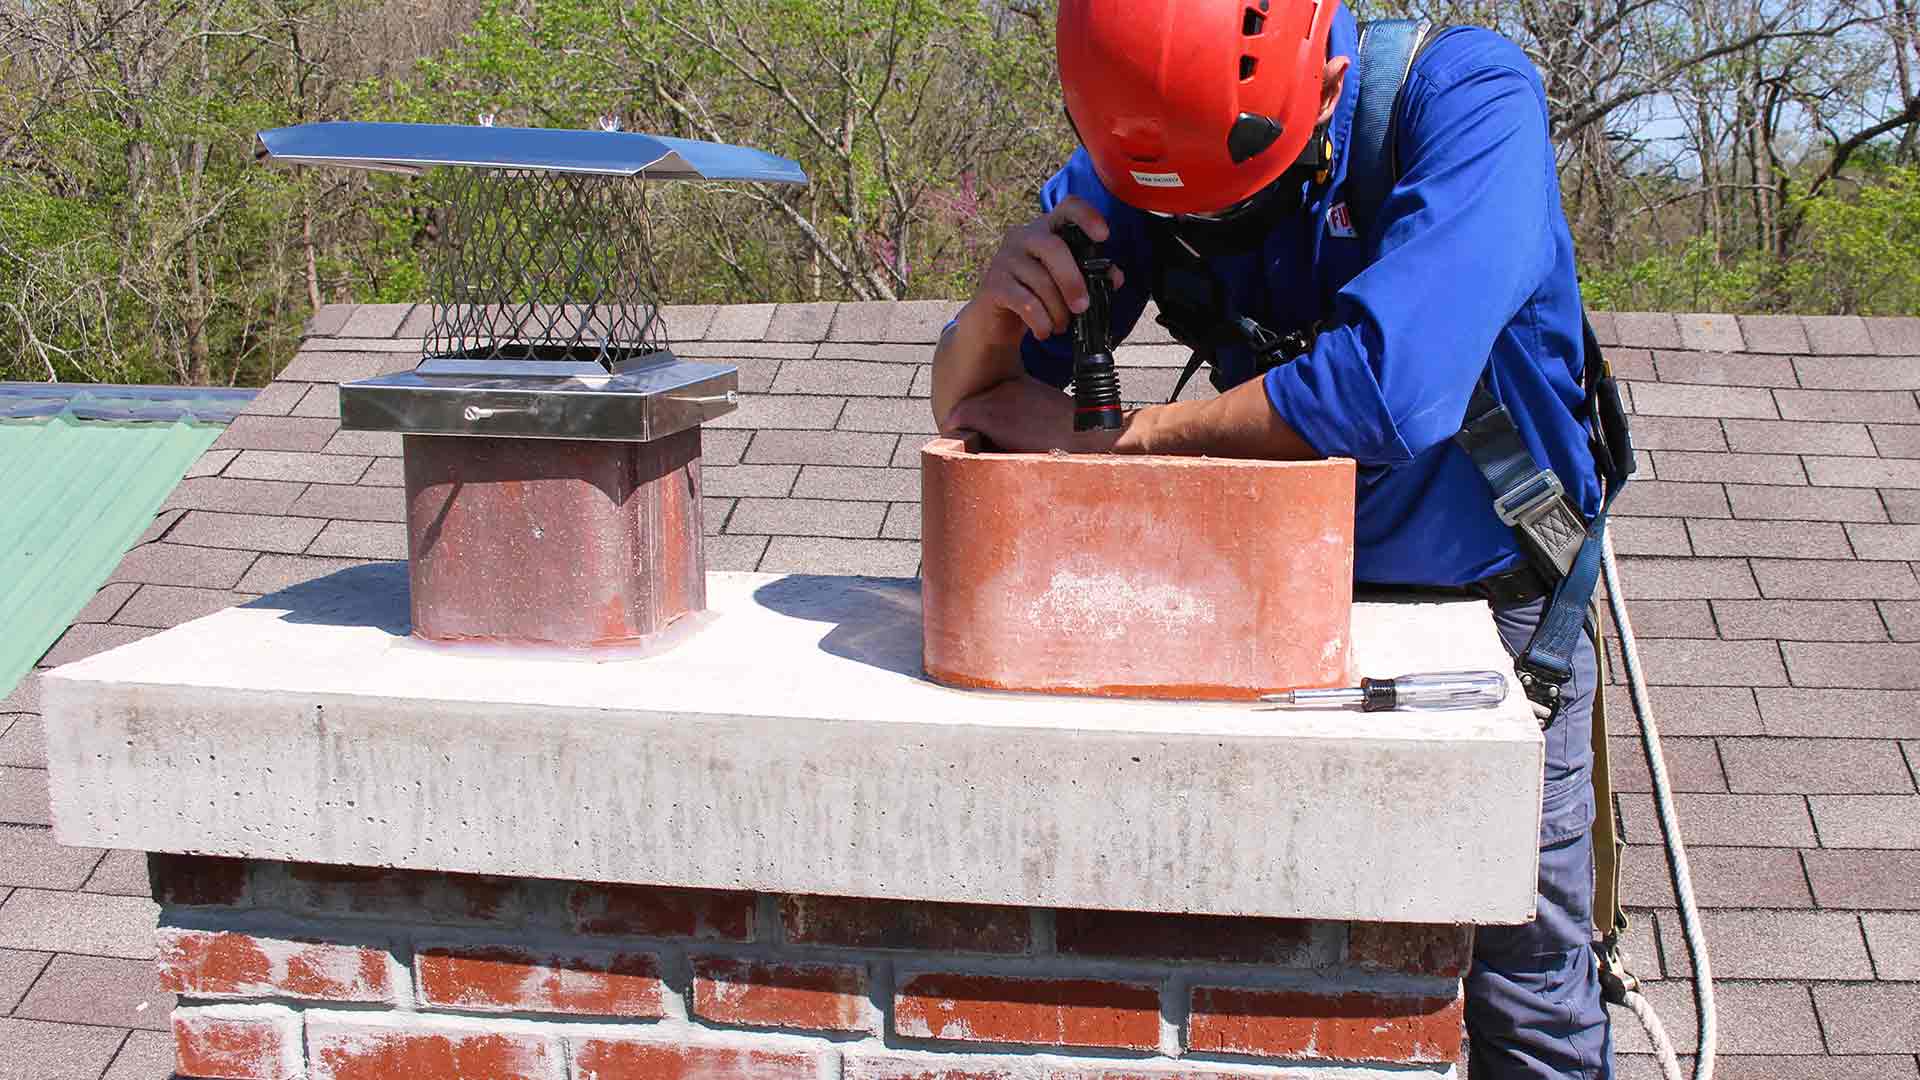
Fireplace & Chimney Safety Must-Dos
A crackling fire is winter magic, but safety first—chimney fires cause thousands of incidents yearly. Inspect for creosote buildup; clean annually ($200 pro service).
Step-by-step: Use a flashlight to check flue, ensure damper works. Burn seasoned wood only. Install CO and smoke detectors ($20 each), test monthly.
Homeowners: Add glass doors for efficiency. Renters: Use with permission, focus on detectors. In wood-burning regions, essential; gas fireplaces, lighter maintenance. Eco: Burn efficient pellets.
Emergency Preparedness Every Home Needs
Winter storms can knock out power, so prep now. Stock a kit: Flashlights, batteries, non-perishables, blankets. Generator? Portable ones ($300+) for essentials—never run indoors to avoid CO poisoning.
Snow tools: Shovel, salt ($10 bag). Clear walks to prevent slips. Homeowners: Insulate generator sheds. Renters: Portable battery packs ($50). All climates: Basic kit; harsh: Extra fuel.
Bonus: Quick Energy-Saving Habits That Slash Bills
Beyond big tasks, habits matter. Lower thermostat to 68°F daytime, 60°F sleep—saves 10%. Use ceiling fans clockwise to push warm air down. Close curtains at night. Unplug vampires (electronics drawing power). These free tweaks add up to $100+ savings.
FAQs About Winterizing Your Home
When should I winterize my home? Aim for early fall, before first frost—October in most areas.
How do I winterize as a renter? Focus on removable items like draft stoppers; get landlord approval for others.
What’s the best way to protect pipes from freezing? Insulate, drip faucets, open cabinets.
How can I save on heating bills winter? Seal drafts, tune furnace, add insulation.
Do I need a pro for winter home maintenance tips? For HVAC or roofs, yes; drafts, DIY.
What’s in a prepare home for winter checklist? Exterior checks, pipe prep, sealing, etc.
Are there eco-friendly options? Yes, recycled insulation, LED bulbs.
How to handle mild vs. harsh winters? Scale efforts—basics for mild, full for harsh.
Conclusion: Wrap Up Warm and Share Your Wins
There you have it—your complete how to winterize your house guide to fend off cold, cut costs, and cozy up. From exterior shields to indoor seals, these steps prevent damage and promote efficiency. Remember, a little effort now avoids big headaches later.
Grab our free printable winterization tips for your home checklist [link placeholder] to check off as you go. What’s your top winter prep hack? Share in the comments—we’d love to hear your wins and build a community of savvy homeowners and renters. Stay warm out there!

Laurie Neel Hamilton is a creative DIY expert and the author behind the charming home décor content on Vivyro.com. Passionate about empowering women to craft beautiful, personalized spaces on a budget, she shares inspiring DIY projects, inventive décor ideas, and easy-to-follow tutorials that bring warmth and style to any home.
As a proud Gigi to five beautiful grandchildren and the heart of her creative community, Laurie infuses her work with joy, creativity, and family-inspired touches. Her welcoming approach makes DIY accessible and fun for crafters of all levels, encouraging everyone to unleash their inner artist and create stunning, heartfelt décor that reflects their unique story.