You can turn dried flowers into lasting decor, useful crafts, thoughtful gifts, or even little wellness treats. Plenty of these projects take less than an hour, honestly.
Frame them, string them into garlands, make potpourri, pour them into resin keepsakes, or just toss together a bouquet that never wilts.
Repurposing your blooms saves money and cuts down on waste. There are easy steps for preserving, storing, and styling dried flowers so they stick around for the long haul.
Try one quick project and you’ll probably get hooked on how many ways dried flowers can brighten up your home or your gifts.
Key Takeaways
- Find fast ways to turn dried flowers into lasting home decor.
- Use simple craft tricks and preservation tips for gifts and keepsakes.
- Store and handle dried blooms right so they keep looking their best.
Creative Home Decor Ideas
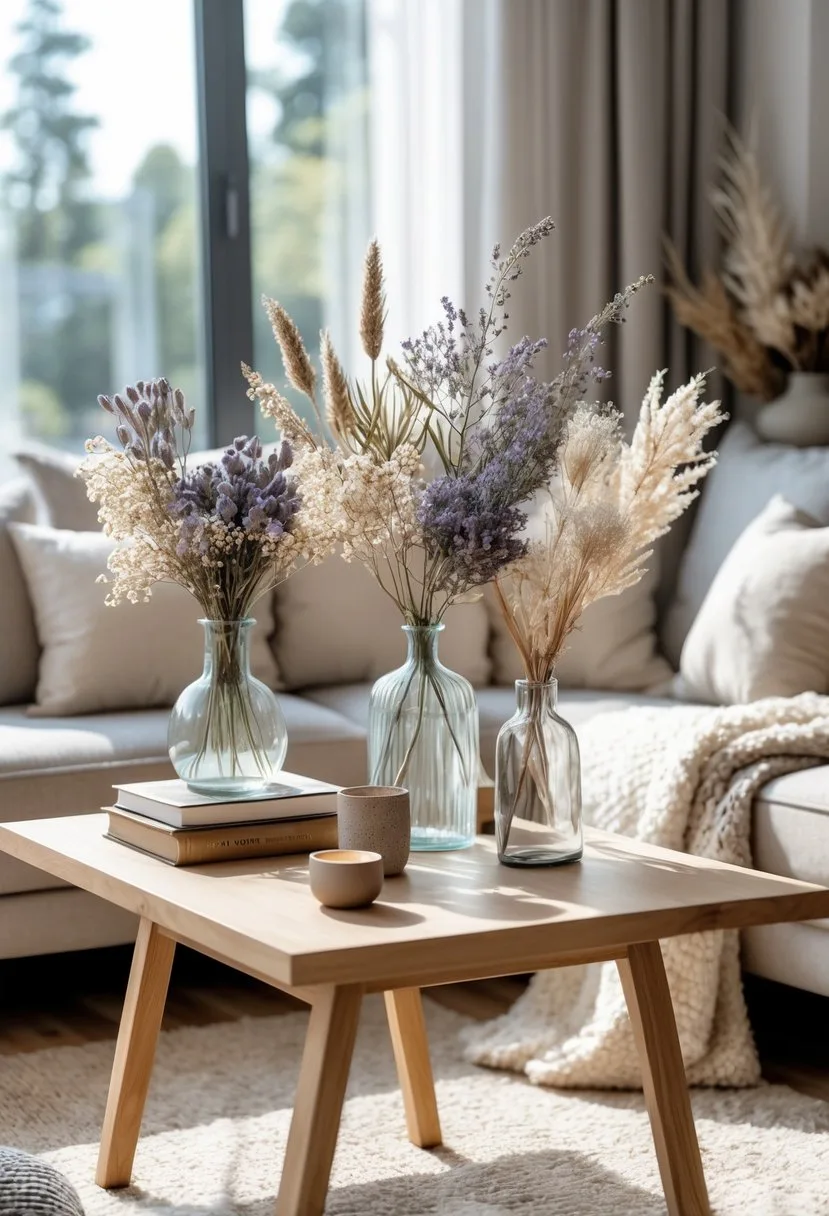
Dried flowers add color and texture that lasts, and you can use them in pretty much any room. Most of these projects use simple supplies and suit all kinds of skill levels and styles.
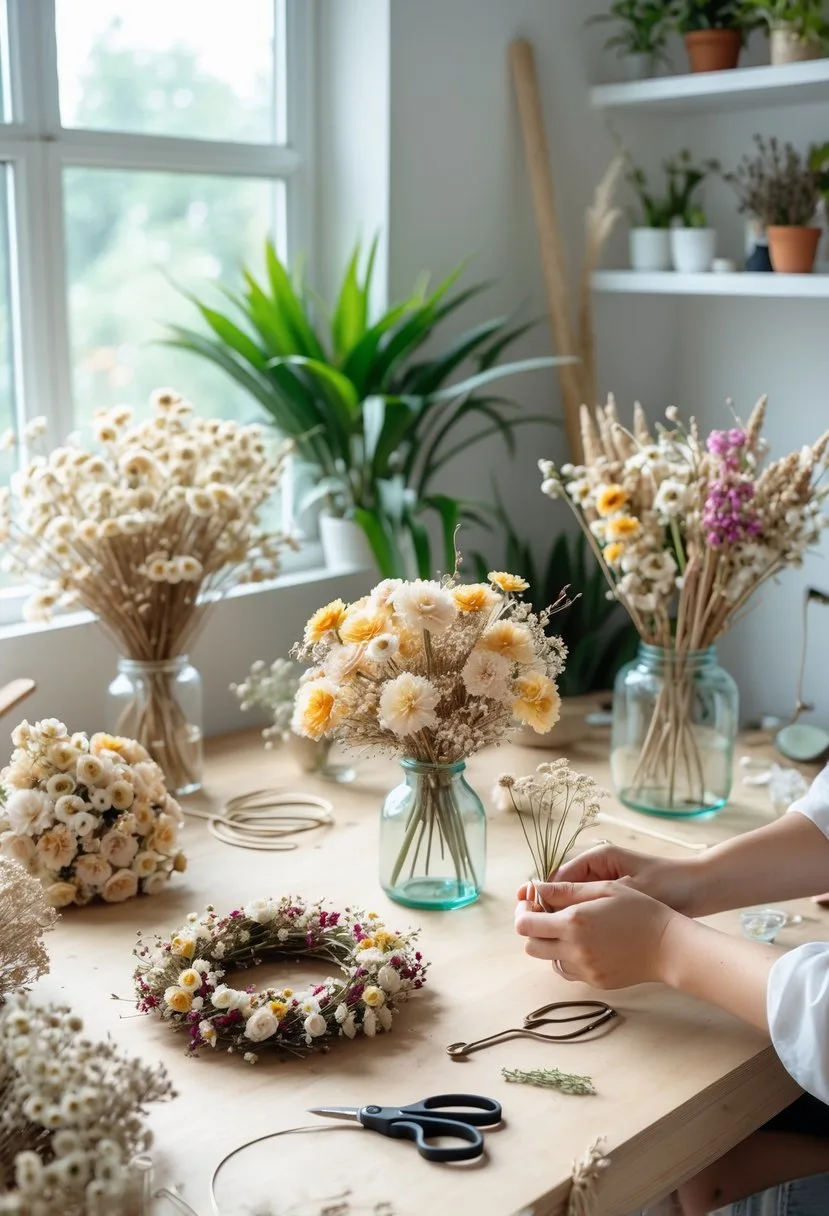
DIY Flower Arrangements
Pick your vase size first—match it to your space. Trim stems for layers: tall ones in back, medium in the middle, and short or filler blooms up front.
Use floral foam or sand to hold stems steady. Mix up textures for more interest.
Try seed pods, pampas, and roses together for contrast. Stick to two or three colors so things don’t look chaotic.
Rotate by season—maybe eucalyptus for winter, lavender for summer. Mist arrangements lightly with spray sealant to cut down on shedding.
Keep them out of direct sun and away from humidity so colors last. Fragile petals need that extra bit of care.
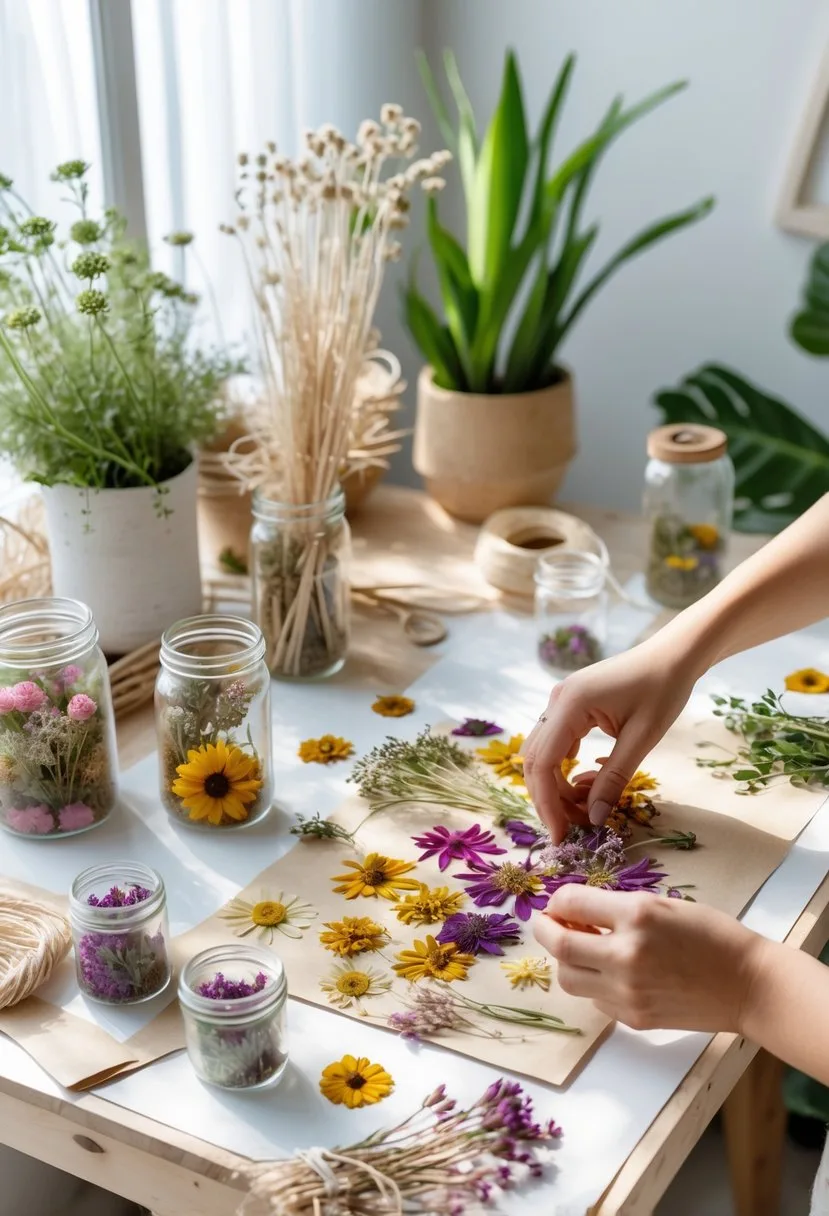
Pressed Flower Wall Art
Go for flat, sturdy blooms like pansies, daisies, or leaves. Press them in a flower press or between heavy books with blotting paper.
Give it 2–4 weeks until everything’s dry and flat. Plan your design on paper before you start gluing.
Simple grids, labeled botanicals, or freeform collages all work. Use acid-free paper and archival glue so your art doesn’t yellow.
Frame behind glass to protect your work. Floating frames let you see the edges and fabric backing.
Hang away from sun and moisture—pressed flowers fade fast if you don’t.
Wreath Making
Pick your base: grapevine, wire, or foam. Start with bigger pieces—eucalyptus or palm leaves—and wire them on.
Fill in gaps with smaller blooms, dried berries, or wheat. Keep things balanced.
Cluster three types of flowers and repeat around the wreath for a natural look. For a modern vibe, stick to one color and leave some of the base visible.
Finish with a sealant spray for extra protection. Hang inside, maybe on a door or over the mantel.
Don’t hang outside—sun and weather will wreck it.
Shadow Boxes With Dried Florals
Choose a shallow shadow box that fits your idea. Use a neutral background like linen or kraft paper to make colors pop.
Glue stems down with hot glue or floral tape so nothing shifts. Make a focal point with one big bloom or a little bouquet in the center.
Surround with smaller pieces. Toss in keepsakes—ticket stubs, notes, seed packets—for personality.
Seal the box well to keep dust out. Show it off at eye level so people can see the details.
Crafting With Dried Flowers
You can turn dried blooms into sweet gifts and keepsakes with just a few tools. Think glue, clear resin, and heat-safe bases for cards, candles, or jewelry that hold their shape and color.
Handmade Greeting Cards
Pick flat, pressed flowers—pansies, daisies, baby’s breath work well. Press them for at least two weeks under heavy books or in a press so they dry flat.
Use acid-free cardstock to keep things from turning yellow. Lay out your flowers before gluing.
Use a thin line of PVA glue or glue dots for small bits. Press gently and hold for a few seconds.
Spray a light coat of clear acrylic sealer to protect your design. If you’re mailing the card, use a rigid envelope or cardboard sleeve.
Label the back with the flower name and date if you want to get personal.
Decorative Candles
Grab a smooth pillar or taper candle with a dry surface. Place small petals or tiny blooms flat against the side.
Use melted wax or a thin layer of Mod Podge to stick them down. Work in small sections: add adhesive, press flowers, smooth with a craft stick.
Let Mod Podge dry fully, then seal with another thin coat. If you’re using wax, drip clear wax over the flowers for a natural finish.
Trim flowers away from the wick so nothing catches fire. These are best for display—if you do light them, keep it brief.
Resin Jewelry and Accessories
Work in a ventilated spot and wear gloves when mixing resin. Use clear, low-viscosity epoxy and measure carefully.
Mix slowly to avoid bubbles. Put tiny, fully dried flowers in silicone molds or metal bezels.
Pour a thin base layer first, place flowers with tweezers, then add more resin to cover. Cure as directed—usually 24–72 hours.
Sand edges with fine sandpaper and polish with a soft cloth or resin polish. Add jump rings and earring posts to make wearable jewelry.
Store finished pieces out of sunlight to keep the colors bright.
Personal and Gift Uses
Dried flowers make for lasting keepsakes, thoughtful presents, or scented items for drawers and closets. Here are a few ways to keep bouquets, make custom gifts, or whip up potpourri sachets with just a handful of supplies.
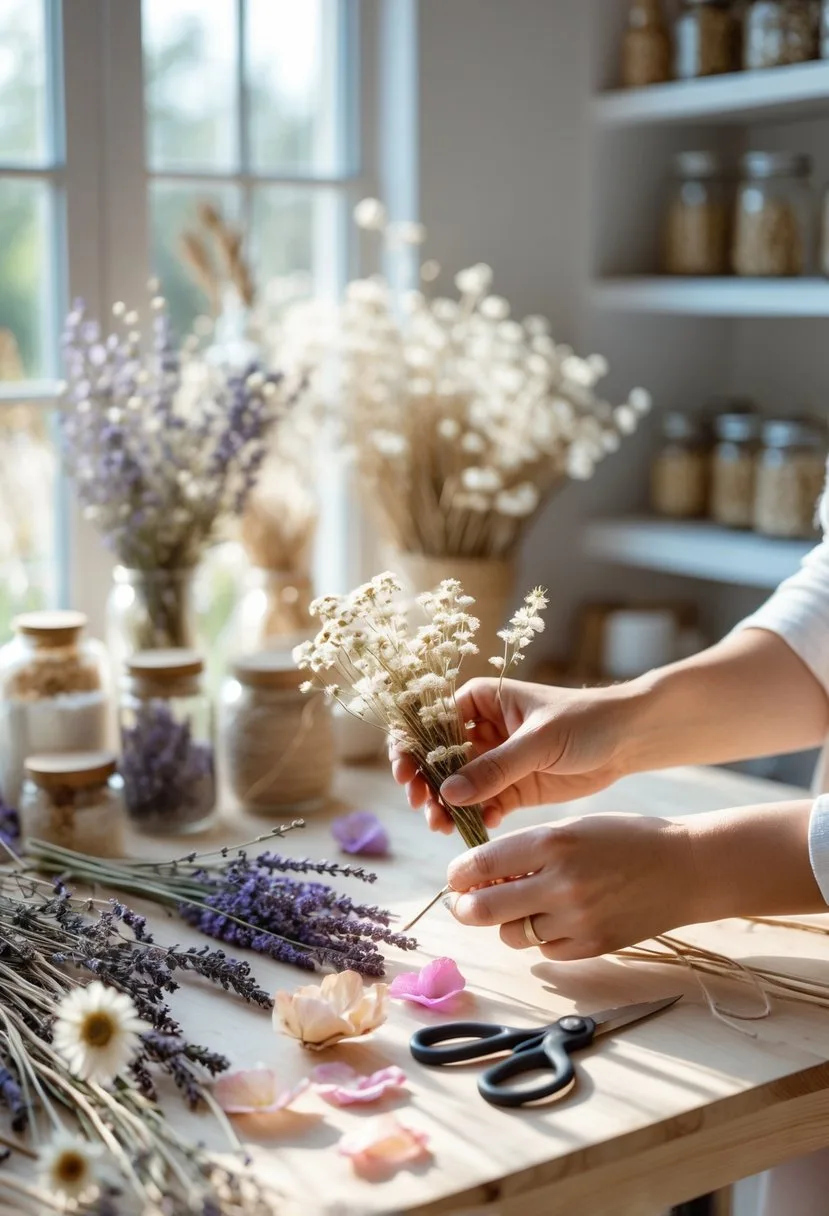
Bouquet Preservation for Keepsakes
Press or dry the bouquet right after you get it to lock in color and shape. To press, layer blooms between absorbent paper and heavy books or use a flower press for 2–4 weeks.
Fragile petals need gentle pressure. For air-drying, hang small bundles upside down in a dark, dry, airy spot for 2–3 weeks.
Pick a display that fits the memory—frame pressed blooms in glass for a wedding, or tuck air-dried stems in a shadow box. Use acid-free backing to keep colors from browning.
Seal delicate pieces with a light mist of archival spray if you want extra protection. Add a small tag with the date and event—tiny details make it more meaningful.
Personalized Gifts
Turn dried flowers into personal gifts: jewelry, bookmarks, framed art. For resin jewelry, embed tiny petals in bezel trays with clear epoxy, then sand smooth.
For bookmarks, laminate pressed stems between two clear plastic sheets or use self-adhesive film for a quick finish. Arrange a few blooms on acid-free paper with a handwritten note or date for a custom frame.
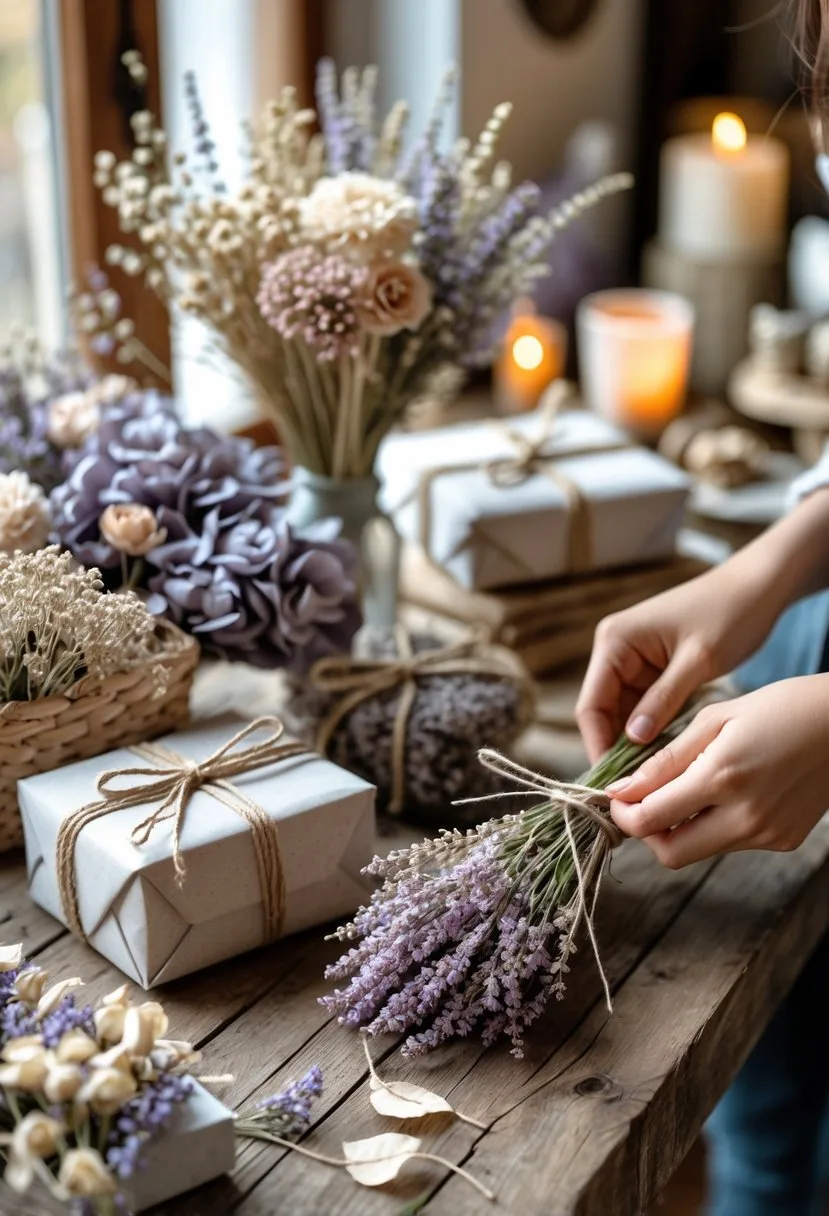
Use a simple mat and frame so the flowers stand out. For group gifts, make matching mini bouquets or sachets and tie each with ribbon and a card.
Add care tips: keep out of sun and humidity. It’s a small thing, but it helps the gift last.
Potpourri Sachets
Pick petals and herbs that hold scent—rose, lavender, chamomile, orange peel. Crush flowers a bit to release aroma.
Mix with fixatives like orris root or rice to keep fragrance going. Add 10–20 drops of essential oil per cup of dry mix to boost scent.
Fill small fabric bags (linen, cotton, muslin) and tie tight. Tuck sachets in drawers, closets, or gifts.
Refresh scent with a drop of oil every few months. Label each sachet with contents and a suggested spot—like “dresser drawer” or “linen closet.”
Sustainable and Eco-Friendly Applications
Dried flowers can help you cut waste and even give your garden or home a little boost. Here’s how to use petals and stems without any plastic or weird chemicals.
Natural Confetti
Tear or crumble dried petals into small pieces for wedding or party confetti that’s fully compostable. Use sturdy flowers like roses, marigolds, or lavender—they keep their color and don’t blow away too easily.
Toss a handful for photos or put small paper cones at each seat for guests. Store petals in a dry container, away from sunlight, so they stay bright.
Mix with biodegradable paper confetti if you need more. Both break down quickly in compost.
Compost or Mulch
Add crushed dried flowers to your compost bin as a brown material—just make sure they’re dry and not coated in oil, glitter, or dyes. Chop stems or run them through a food processor to speed things up.
Mix with kitchen scraps to keep your pile balanced. Spread shredded petals and stems as a thin mulch layer around perennials and shrubs.
Keep it light—about an inch—so it doesn’t mat down. Over time, it breaks down and feeds your soil, no chemicals needed.
Biodegradable Decor
Make table runners, wreaths, or framed art with dried flowers and natural adhesives like wheat paste or starch glue. Use recycled paper, cork, or plain wood as your base so it’s all compostable later.
Label pieces for indoor use—rain and sun will ruin them. For scented decor, mix petals with dried citrus peels and a few drops of essential oil in cotton or linen bags.
When you’re done, compost the fabric and flowers as long as there’s no plastic or synthetic dye.
Aromatherapy and Wellness
Dried flowers aren’t just pretty—they bring scent, color, and gentle skin and mood perks to home remedies. You can use them in bath products that soothe skin or in little herb sachets for drawers or relaxation.
Homemade Bath Products
Try dried lavender, rose petals, or chamomile for a calming bath blend. Mix 1 cup Epsom salt, 1/2 cup baking soda, and 2 tablespoons dried flowers in a glass jar.
Add 2–3 tablespoons to your bath, or put the mix in a muslin bag to keep drains clear. For a gentler soak, steep 2 tablespoons of dried flowers in 1 cup hot water for 10 minutes, strain, and pour into your bath.
Add a few drops of skin-safe essential oil (like lavender or sweet orange) for more scent. If you have sensitive skin, maybe test a little first.
Herbal Sachets for Relaxation
Make small sachets for pillows, drawers, or your bag with dried lavender, lemon balm, and rose buds. Fill a 3×4 inch muslin or cotton bag with 1–2 tablespoons of flower mix and a teaspoon of dried hops or valerian for stronger sleep support.
Sew or tie the bag closed. Refresh by gently crushing the contents or adding 2–3 drops of essential oil every few weeks.
Tuck sachets under your pillow, in drawers, or in the closet. Swap out the contents every 6–12 months to keep things fresh.
Tips for Storing and Maintaining Dried Flowers
Keep dried flowers out of direct sunlight. Sunlight just speeds up fading, and who wants that?
Find a cool, dry spot with low humidity. Mold and brittle petals are no fun, so avoid damp corners.
For long-term storage, use cardboard boxes or wrap bundles in paper. If your flowers aren’t totally dry, don’t trap them in sealed plastic—moisture will sneak in and you’ll end up with mildew.
Handle stems gently. Hold them near the base and support those fragile petals with your other hand when moving arrangements.
Dust every so often with a soft brush or a hairdryer on a cool, low setting. A little cleaning keeps colors looking bright without tearing petals.
If you want extra protection, try a light coat of matte hairspray from a distance. Test it on a single stem first—sometimes it changes the color or texture, and that’s not a fun surprise.
Label storage boxes with the date and flower type. It helps you keep track and reuse your favorites later.
If you’re planning to store them for a long time, wrap delicate blooms in acid-free tissue paper. Lay them flat in shallow boxes so nothing gets squished.
Keep petals and little bits organized in clear jars or envelopes. That’s way easier when you want to craft or press later.
Preservation Methods for Dried Flowers
You can keep dried flowers looking nice for longer if you pick the right preservation method for each flower. Not every bloom loves the same treatment, so think about what you want to protect—color, shape, or texture.
Air drying is the classic go-to. Bundle up stems, hang them upside down in a dark, dry place for a few weeks, and keep them away from sunlight. Roses, lavender, and grasses usually do well with this.
Silica gel speeds things up and keeps colors brighter. Bury petals or whole blooms in silica, check them after a few days, and gently brush off the crystals. This works for delicate flowers like peonies and zinnias.
Glycerin is a bit different—it keeps leaves and some flowers flexible. Mix one part glycerin with two parts water and soak the stems. It takes a while, but the result is soft, long-lasting foliage.
Resin encapsulation turns petals into keepsakes. Arrange dried petals in molds, pour in clear resin, and you’ve got jewelry or paperweights that last.
Store finished pieces in a cool, dry place and keep them out of sunlight. Handle them gently. If you want, use a light spray of clear matte sealant, but always test it on a scrap bloom first.
- Quick comparison:
- Air drying: cheap, slow, best for sturdy stems
- Silica gel: faster, preserves color, needs supplies
- Glycerin: keeps flexibility, good for foliage
- Resin: creates permanent pieces, requires careful work
Common Mistakes to Avoid When Using Dried Flowers
Don’t put dried flowers in direct sunlight. It just fades the colors and makes petals brittle.
Keep them dry, always. Moisture brings mold and softens stems. Skip the bathroom and don’t put them near humidifiers or in vases with leftover water.
Give each stem some breathing room when drying or arranging. Crowding traps moisture and messes up the shapes.
Be gentle when cleaning. Dried blooms snap easily. Use a soft brush or a cool hairdryer—no aggressive wiping.
Test sealants before using them on all your flowers. Some sprays darken petals or leave them sticky. Go light and even when you do spray.
Don’t mix fresh and dried flowers in the same arrangement. Fresh stems release moisture and can ruin dried ones. If you really want both, keep fresh flowers in their own water-filled containers.
Avoid storing dried flowers in plastic without airflow. Humidity creeps in and mold follows. Stick with breathable boxes or wrap in paper, then store somewhere cool and dry.
Frequently Asked Questions
You can use dried flowers for decor, gifts, and keepsakes with just a few tools. Try framing, pressing, making bouquets, or sealing blooms in resin for pieces that really last.
How can one incorporate dried flowers into home decor?
Tuck small bunches into narrow vases for shelves or windowsills. Mix up the textures—wheat, eucalyptus, baby’s breath—so you get a full look without any watering.
Make wreaths for doors or walls by wiring stems to a base. Add ribbon or dried citrus if you want more color and a little scent.
What are creative ways to use dried flowers from a wedding?
Press petals and frame them with the date and vows nearby. You could make a shadow box with a bit of dress fabric or bouquet ribbon.
Preserve bouquet stems in a keepsake vase, or set a few blooms in resin for paperweights or cufflinks.
What types of crafts can be made with dried flowers?
Glue pressed petals to heavy paper for greeting cards and seal with clear varnish. Make bookmarks by laminating pressed stems between thin plastic sheets.
Try candle making—press petals against the inside of glass holders. Or mix small blooms into resin for coasters and keychains.
How can dried flowers from a funeral be repurposed or displayed?
Press a few meaningful blooms in a book and keep them in a memory box. Place other stems in a simple vase on your mantel or bedside table.
Frame an arrangement with a small plaque for the name and date. It’s a quiet way to remember someone at home.
What are the best methods for creating dried flower art?
Press flowers under heavy books or in a flower press for flat art. Arrange pressed blooms on archival paper and use pH-neutral glue—fading is the enemy.
For 3D pieces like wreaths or shadow boxes, use air-dried or silica-dried blooms. Seal finished art with spray fixative or clear resin to keep the color and shape.
Are there any keepsake ideas for preserving dried flowers from a significant other?
Try pressing a few favorite petals and slipping them into a locket or a small glass vial you can carry around. You could also embed a single bloom in resin—maybe turn it into a pendant, a paperweight, or even a tiny framed memento.
Add a little note with the date and place if you want to remember the details. Keep these keepsakes out of direct sunlight so the colors last longer.

Jen Moser is a skilled kitchen and bath designer at Wisconsin Building Supply in Appleton, WI, and the author behind the expert remodeling and design content on Vivyro.com. With years of hands-on experience in residential cabinetry, layout planning, and functional aesthetics, she shares practical tips, innovative ideas, and inspiring transformations to help homeowners create beautiful, efficient kitchens and bathrooms that suit their lifestyle and budget.
As the creative voice of Vivyro.com, Jen draws from her professional expertise to offer step-by-step guidance, trend insights, and real-world solutions for remodeling projects. Her approachable, detail-oriented style empowers DIY enthusiasts and homeowners alike to achieve professional-quality results in their own spaces.