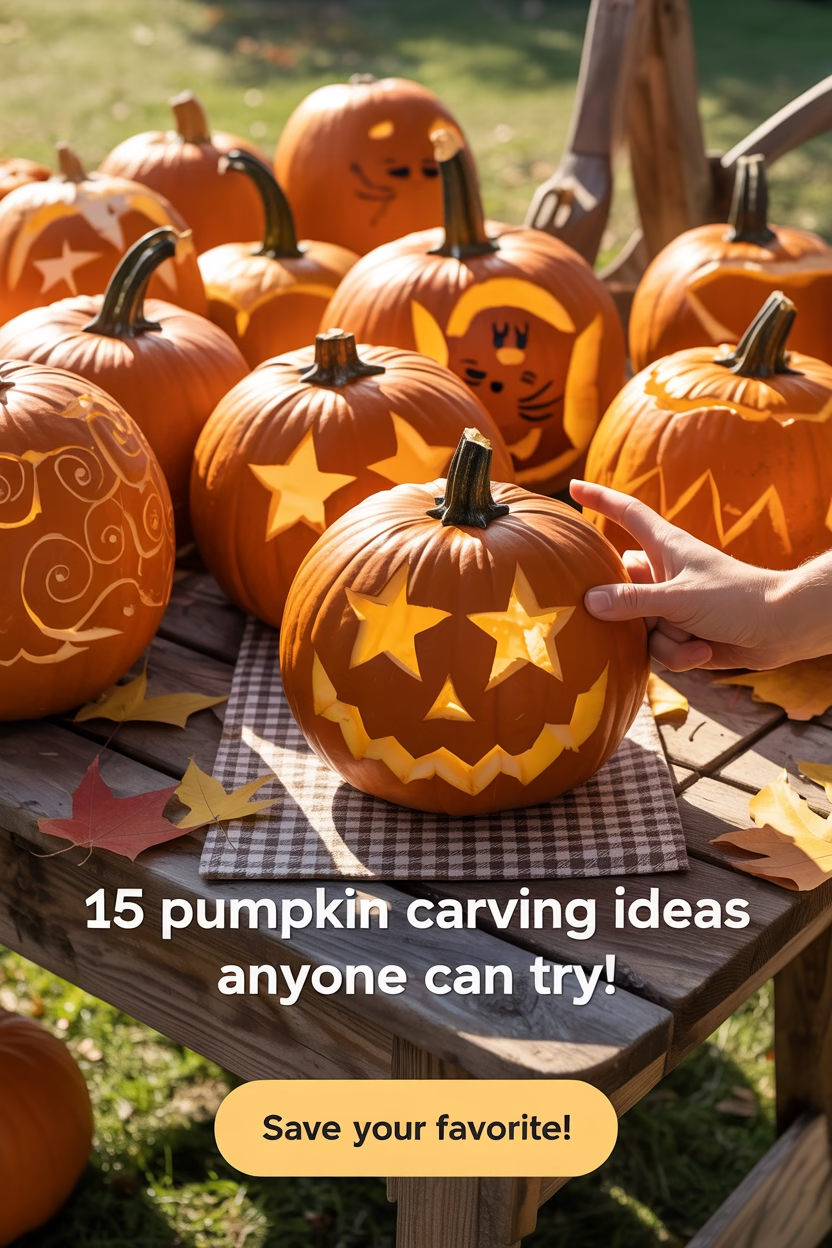
Pumpkin carving is a timeless Halloween tradition that transforms a simple gourd into a piece of festive art. Whether you’re a beginner looking for easy designs or a seasoned pro seeking spooky inspiration, there’s a carving idea out there for you.
In this guide, we’ve compiled 15 realistic and creative pumpkin carving ideas that are doable at home with basic tools. From classic jack-o’-lanterns to modern art-inspired patterns, each suggestion includes practical tips and descriptions to help you carve with confidence.
🎃 Key Facts About Pumpkin Carving
- Best pumpkins for carving: Look for medium to large-sized pumpkins with a smooth surface and flat bottom.
- Tools you’ll need: Pumpkin carving kit, serrated knife, scooper, stencil, push pins, and a marker.
- Carving time: Simple designs take 15–30 minutes; detailed designs may take 1–2 hours.
- Preservation tip: Soak carved pumpkins in a bleach-water mix (1 tbsp bleach per gallon) to help them last longer.
🧡 15 Pumpkin Carving Ideas (With Detailed Descriptions)
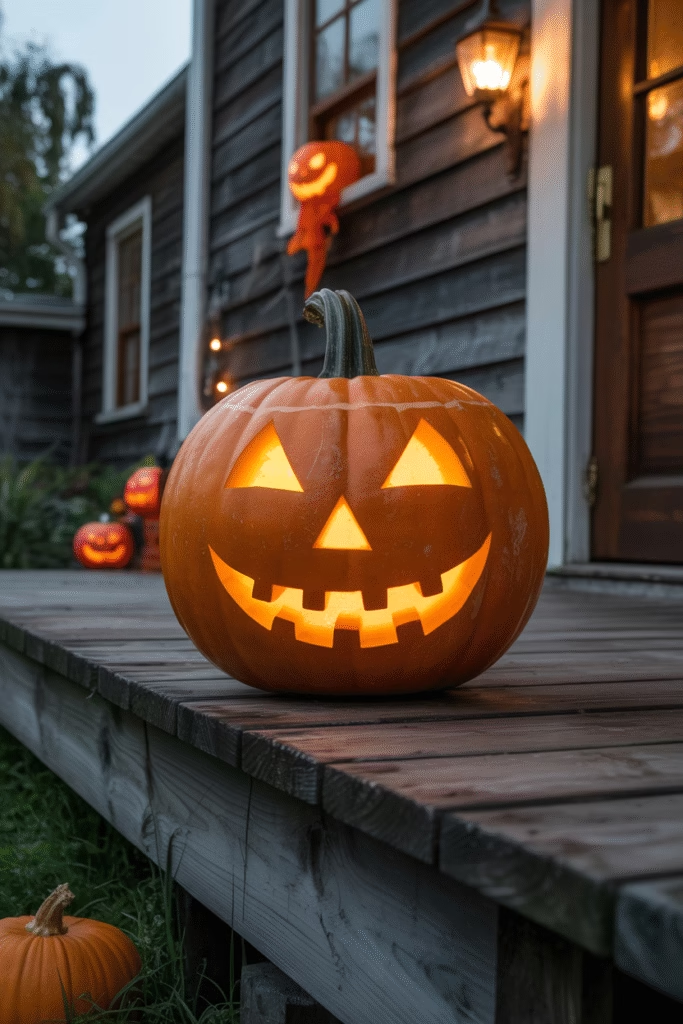
1. Classic Jack-o’-Lantern
Idea: Triangular eyes, nose, and a jagged toothy grin.
Why it works: Timeless and easy to carve, making it perfect for beginners.
Pro tip: Use a spoon to scrape the inside walls thin where you plan to carve—it makes cutting easier.
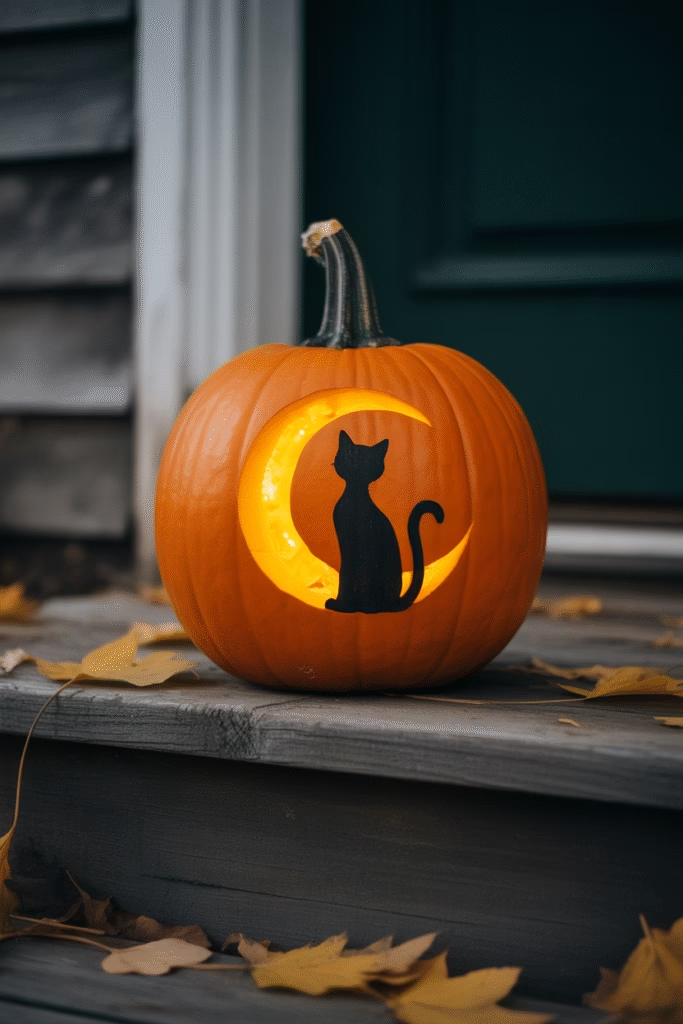
2. Cat Silhouette
Idea: Carve a black cat sitting or arching its back under a moon.
Why it works: A classic symbol of Halloween and superstition.
Tool tip: Use a stencil for the cat shape and a paring knife for the curved tail.
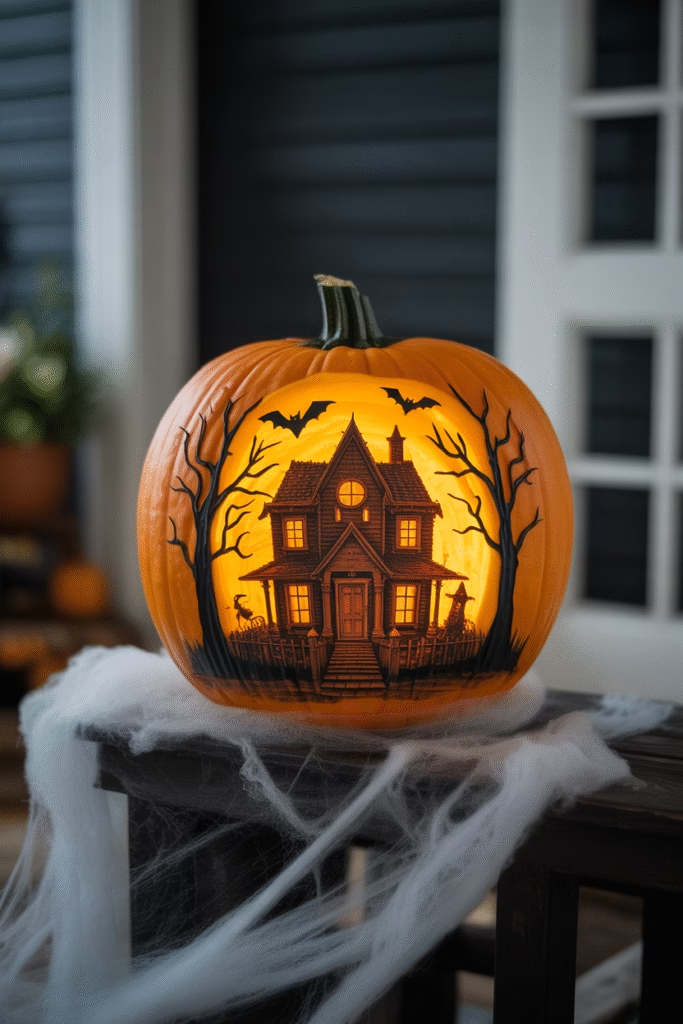
3. Haunted House Scene
Idea: A small haunted house with crooked windows, bats, and a spooky tree.
Why it works: Tells a story and adds eerie charm to your doorstep.
Bonus tip: Light it from inside using LED string lights for a glowing effect.
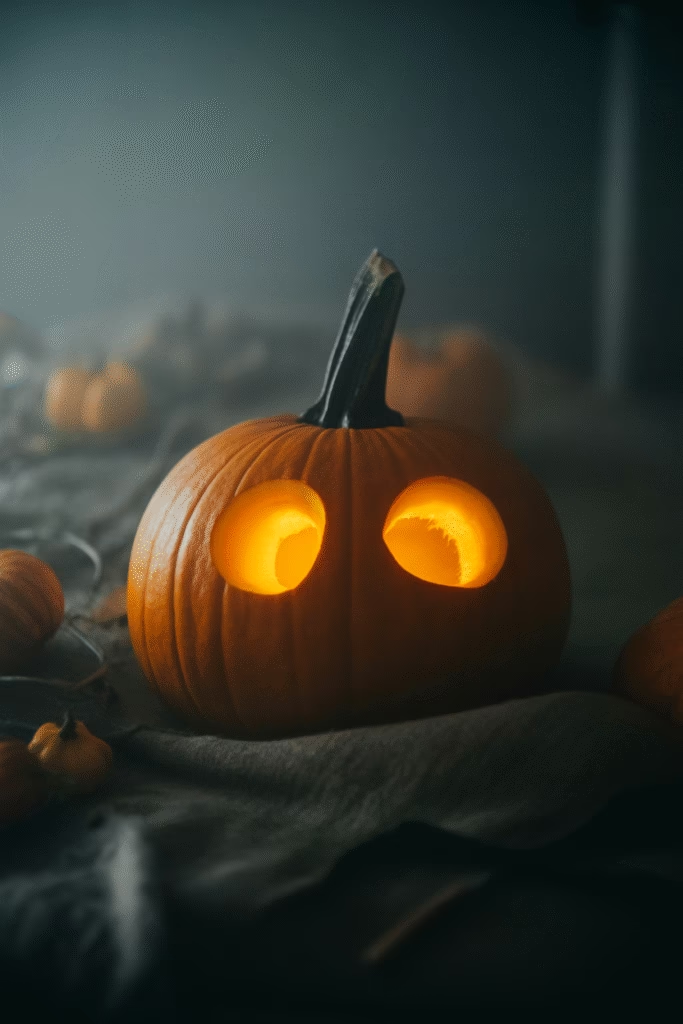
4. Spooky Eyes Pumpkin
Idea: Just carve a pair of creepy glowing eyes.
Why it works: Minimal effort with maximum creep factor.
Variation: Add different shaped eyes on multiple pumpkins to create a glowing bush of “watchers.”
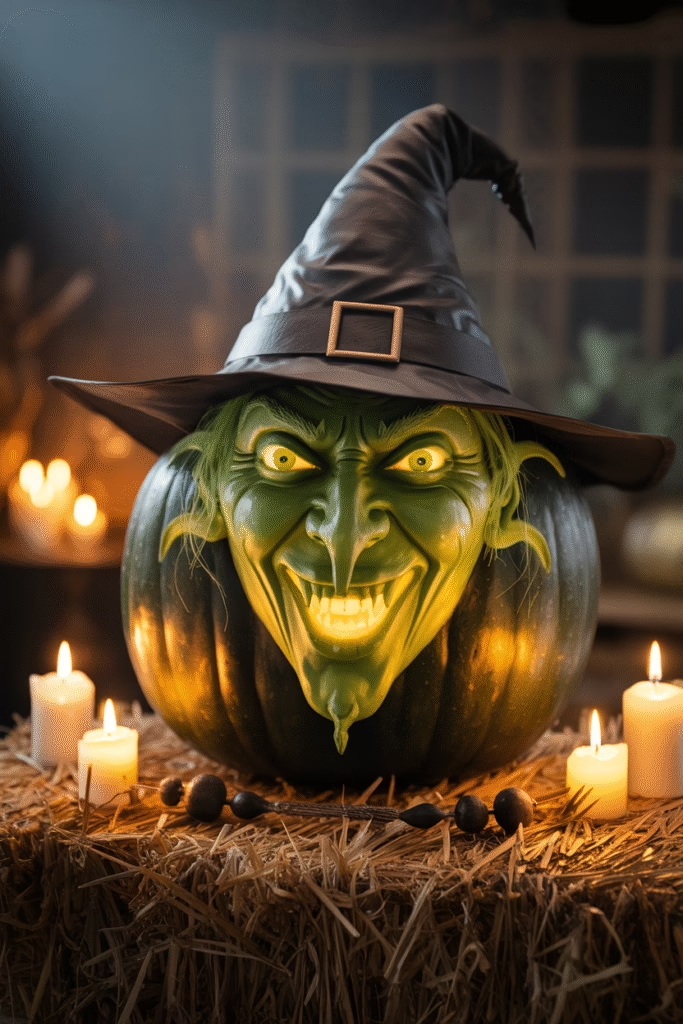
5. Witch’s Face
Idea: A hooked nose, pointed hat, and wicked smile.
Why it works: Brings character and personality to your display.
Carving tip: Layer the depth of the carve for shading effects on the face.
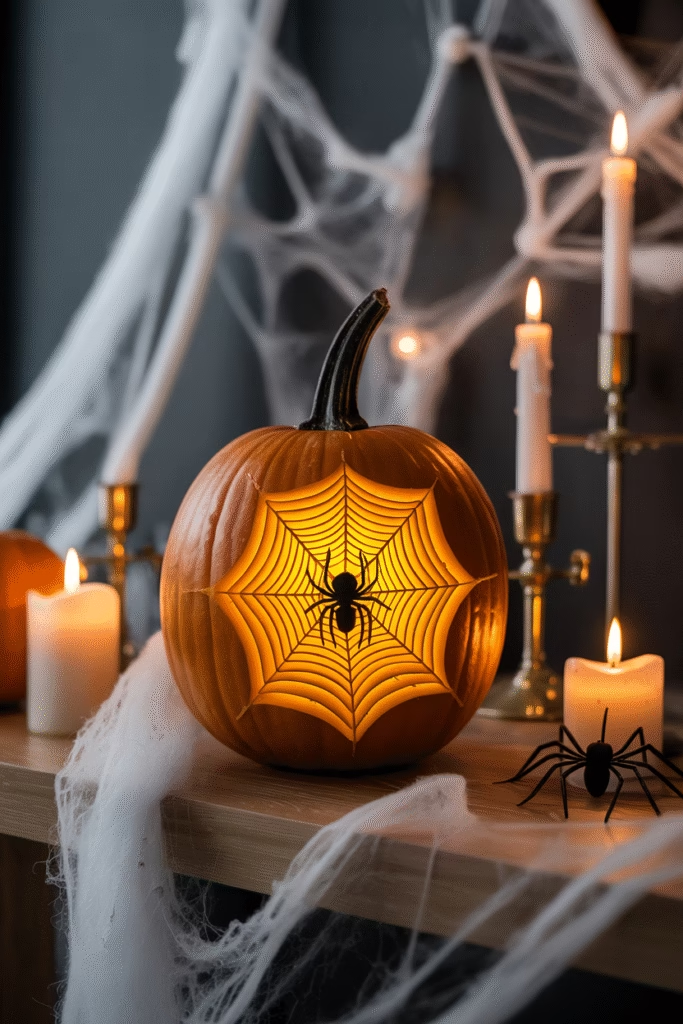
6. Spider Web Design
Idea: Carve an intricate spider web with a small spider dangling from it.
Why it works: Delicate and visually stunning.
Trick: Use a linoleum cutter or craft knife for thin web lines.
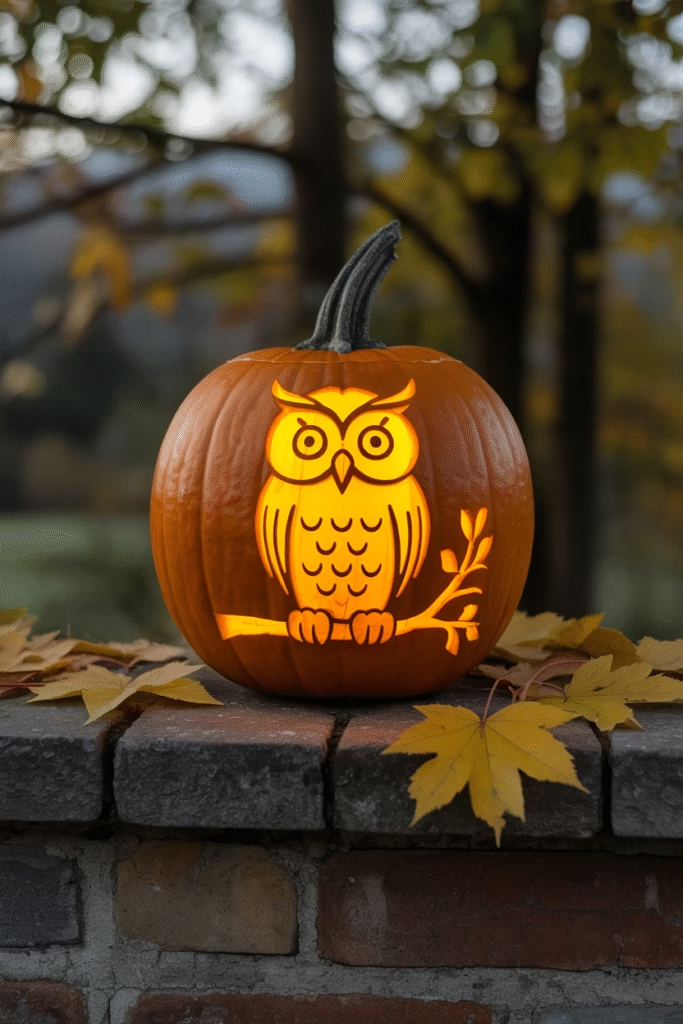
7. Owl on a Branch
Idea: An owl with big round eyes perched on a tree limb.
Why it works: Suitable for both fall and Halloween themes.
Tip: Keep the pumpkin wall thick behind the eyes to make them glow softly.
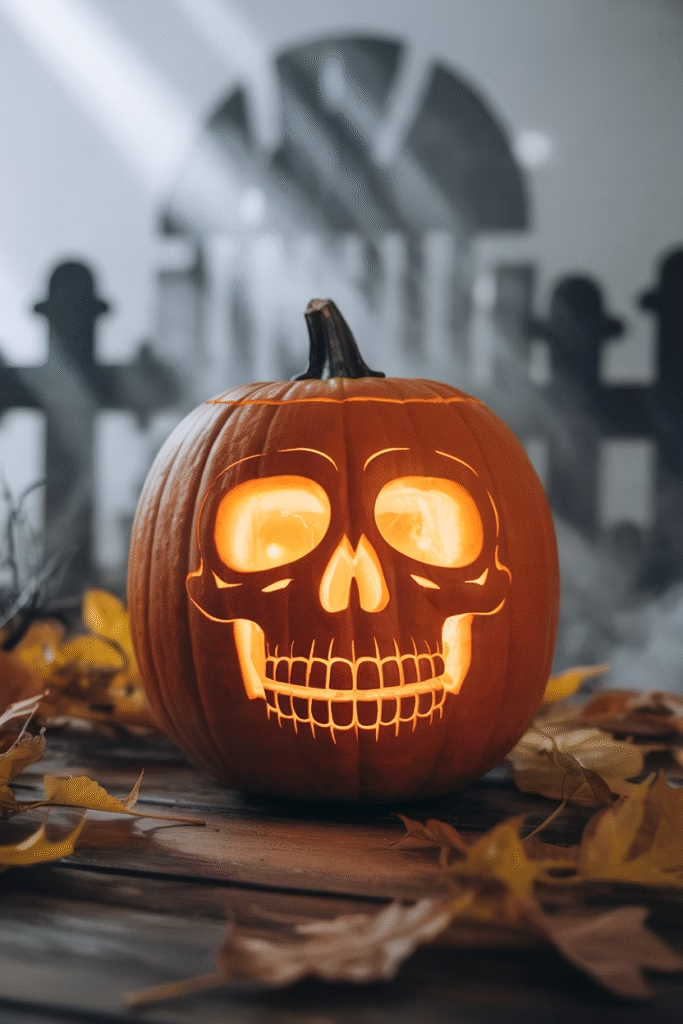
8. Grinning Skull
Idea: Hollow eyes, nose slits, and a bony grin.
Why it works: Universally creepy and recognizable.
Stencil help: You can find printable skull templates online to trace before cutting.
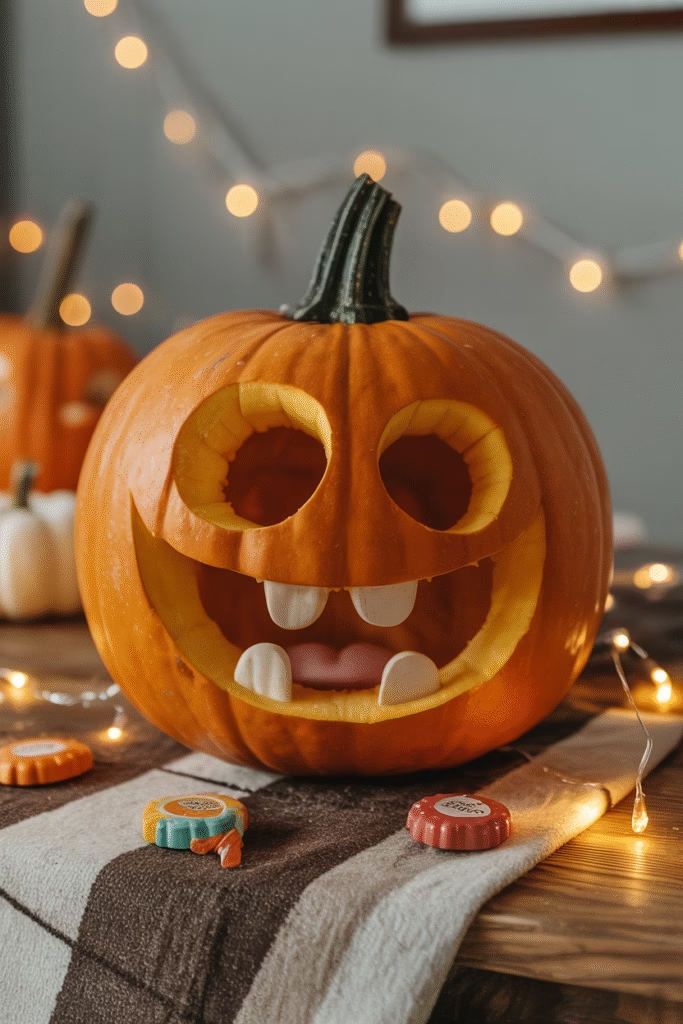
9. Toothless Monster Face
Idea: Big bulging eyes, large mouth, goofy expression.
Why it works: Kid-friendly and cartoonish.
Pro tip: Use other gourds or mini pumpkins as “eyes” and glue them on.
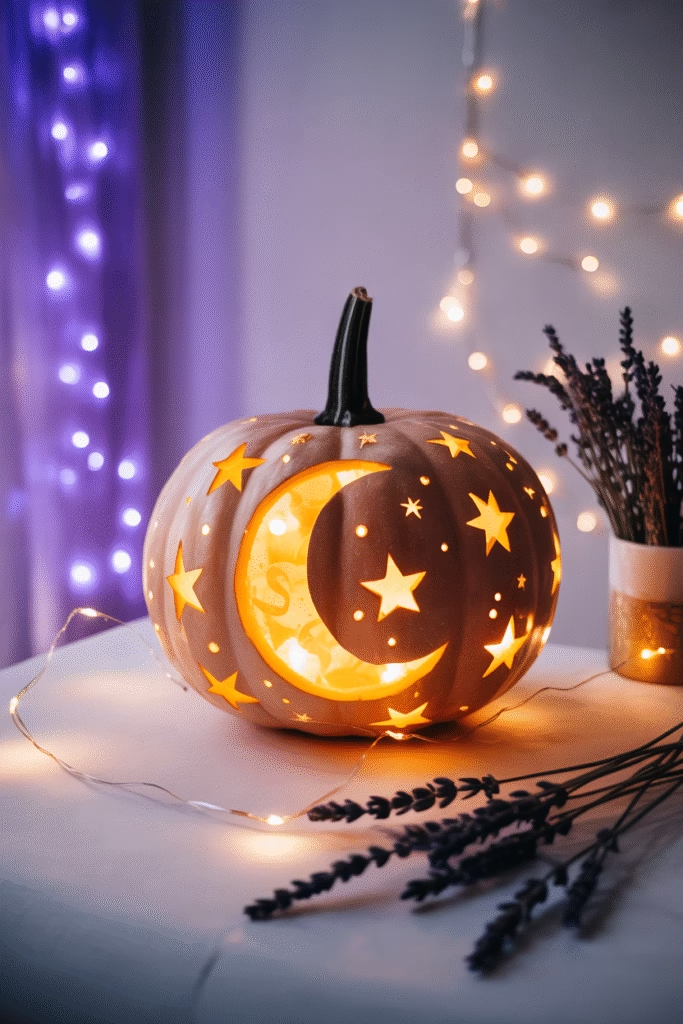
10. Moon and Stars
Idea: Carve crescent moons, stars, and tiny sparkles all over.
Why it works: Perfect for a mystical, enchanting look.
Use: Great centerpiece for evening parties.
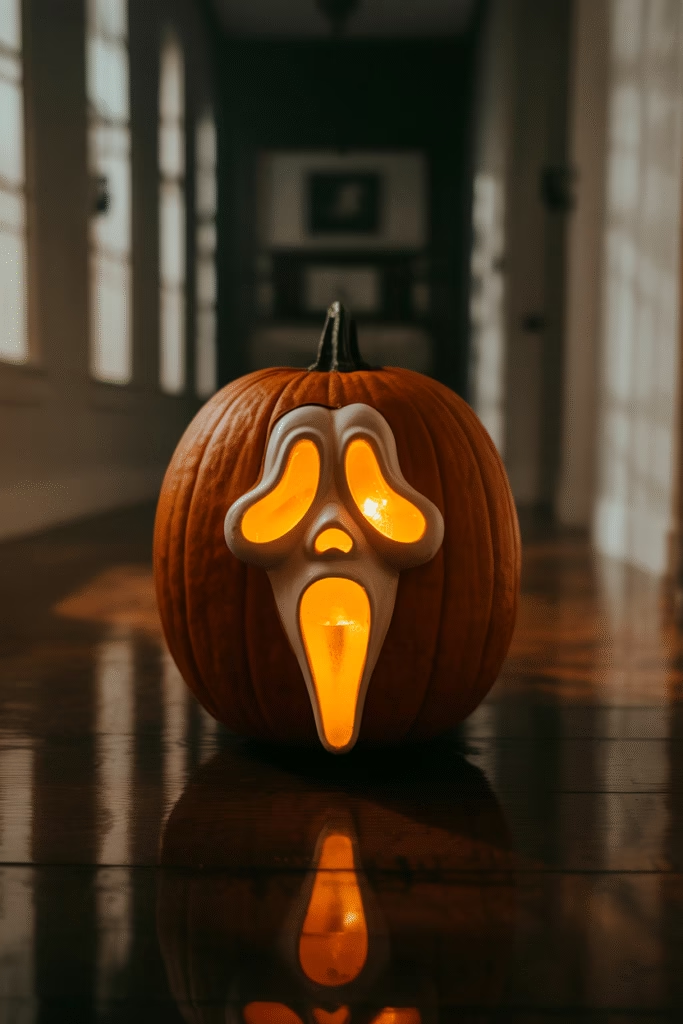
11. Ghost Face Pumpkin
Idea: Elongated mouth and wide eyes like the “Scream” mask.
Why it works: Instantly recognizable and eerie.
Detail tip: Add hands on the side of the pumpkin to mimic the ghost holding its face.
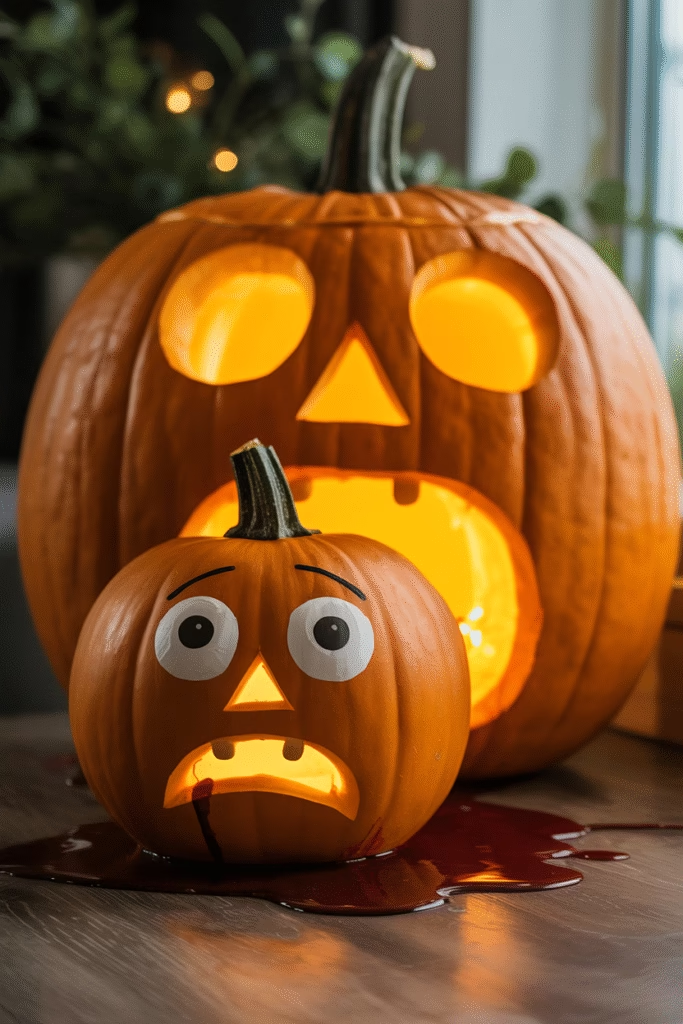
12. Pumpkin Eating Pumpkin
Idea: A large pumpkin carved to look like it’s eating a smaller one.
Why it works: Funny and surprising.
Execution: Hollow both pumpkins; carve big teeth on the large one and fit the smaller one in its “mouth.”
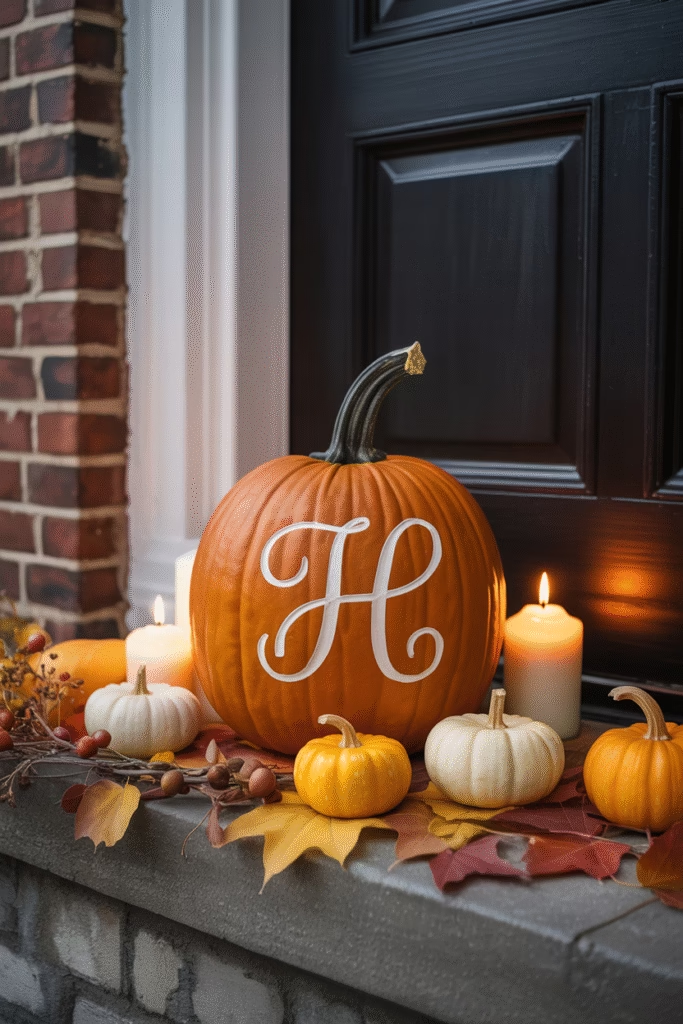
13. Initial or Monogram Pumpkin
Idea: Carve your family’s initials in a stylish font.
Why it works: Elegant and personal.
Ideal for: Front porches or formal fall displays.
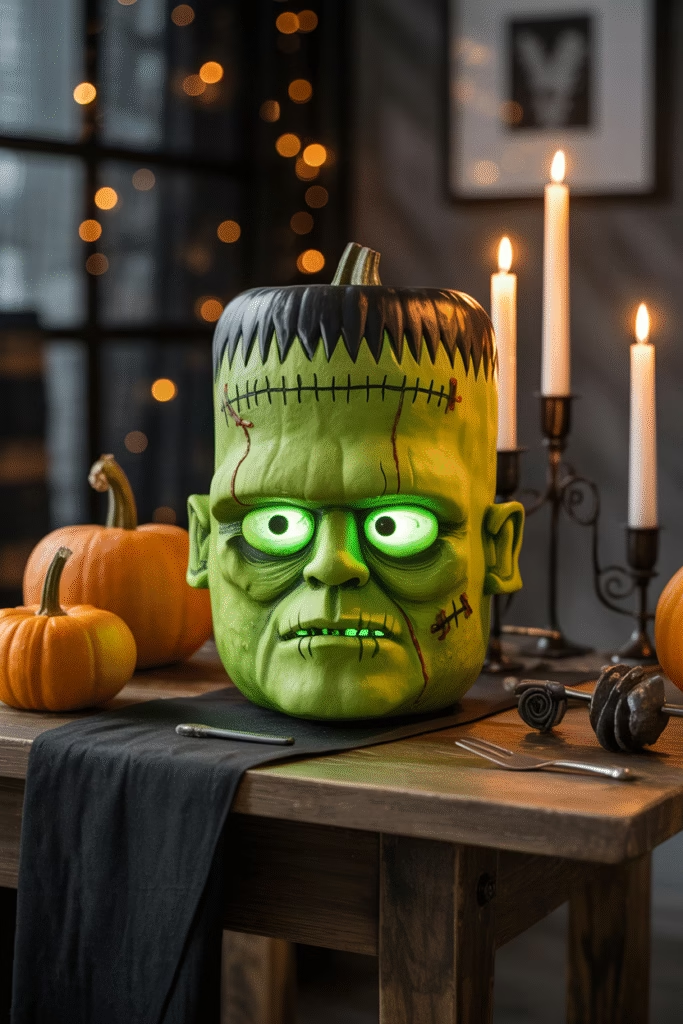
14. Frankenstein’s Monster
Idea: Square head, flat top, big bolts on the sides.
Why it works: Iconic and full of personality.
Extra detail: Use real bolts or twigs for the neck pieces.
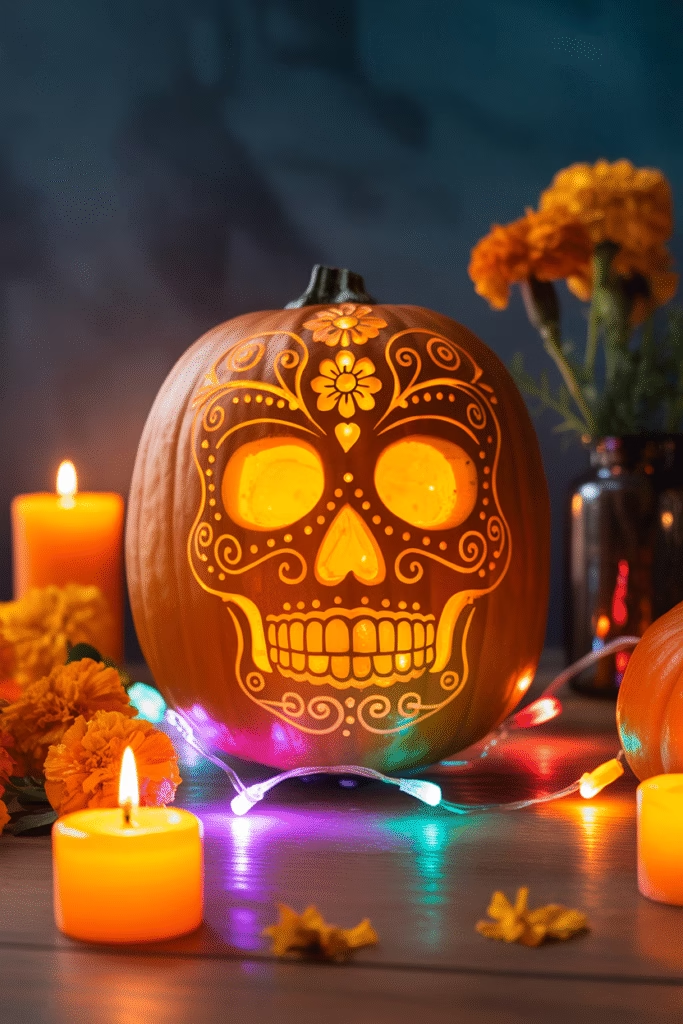
15. Day of the Dead Sugar Skull
Idea: A carved skull with floral and swirl details.
Why it works: Beautiful and symbolic.
Advanced: Best for intermediate or expert carvers due to the level of detail.
🛠️ FAQs About Pumpkin Carving
Q1. What’s the best time to carve pumpkins for Halloween?
A1. Ideally 3–5 days before Halloween. Earlier than that, they may rot unless treated.
Q2. How can I make my carved pumpkin last longer?
A2. After carving, soak the pumpkin in a bleach-water solution, dry it thoroughly, and apply petroleum jelly to the cut edges.
Q3. What should I do with the pumpkin guts?
A3. Roast the seeds for a snack, and compost the pulp or use it in recipes.
Q4. What if I don’t want to use candles?
A4. Use battery-operated LED lights, fairy lights, or glow sticks for safe illumination.
Q5. Can I use paint and carving together?
A5. Yes! Paint adds dimension. You can carve a design and then paint the rest of the pumpkin to accentuate details.
🎃 Conclusion
Carving pumpkins is more than just a seasonal craft—it’s a way to express your creativity and get into the Halloween spirit. Whether you prefer spooky, silly, or stylish designs, these 15 pumpkin carving ideas are realistic enough for anyone to try and bold enough to stand out on your porch.
Don’t forget to involve the whole family and make a fun tradition out of it. With the right tools, some planning, and a little imagination, your pumpkin could be the star of the neighborhood this Halloween!
Laurie Neel Hamilton is a creative DIY expert and the author behind the charming home décor content on Vivyro.com. Passionate about empowering women to craft beautiful, personalized spaces on a budget, she shares inspiring DIY projects, inventive décor ideas, and easy-to-follow tutorials that bring warmth and style to any home.
As a proud Gigi to five beautiful grandchildren and the heart of her creative community, Laurie infuses her work with joy, creativity, and family-inspired touches. Her welcoming approach makes DIY accessible and fun for crafters of all levels, encouraging everyone to unleash their inner artist and create stunning, heartfelt décor that reflects their unique story.